Settle in kids, because this is a long post. First off, I finished leveling the back beam, despite one of the hydraulic jacks slowly losing pressure. I picked up another jack post since the back beam sagged in the middle and I wanted to prop it up with the jack. I also removed the last of the stud wall under the beam, meaning it was now completely supported by the jack posts and hydraulic jacks. That in itself felt like an accomplishment. Then I finished building the temporary support wall, making it officially a pain in the ass to do laundry.
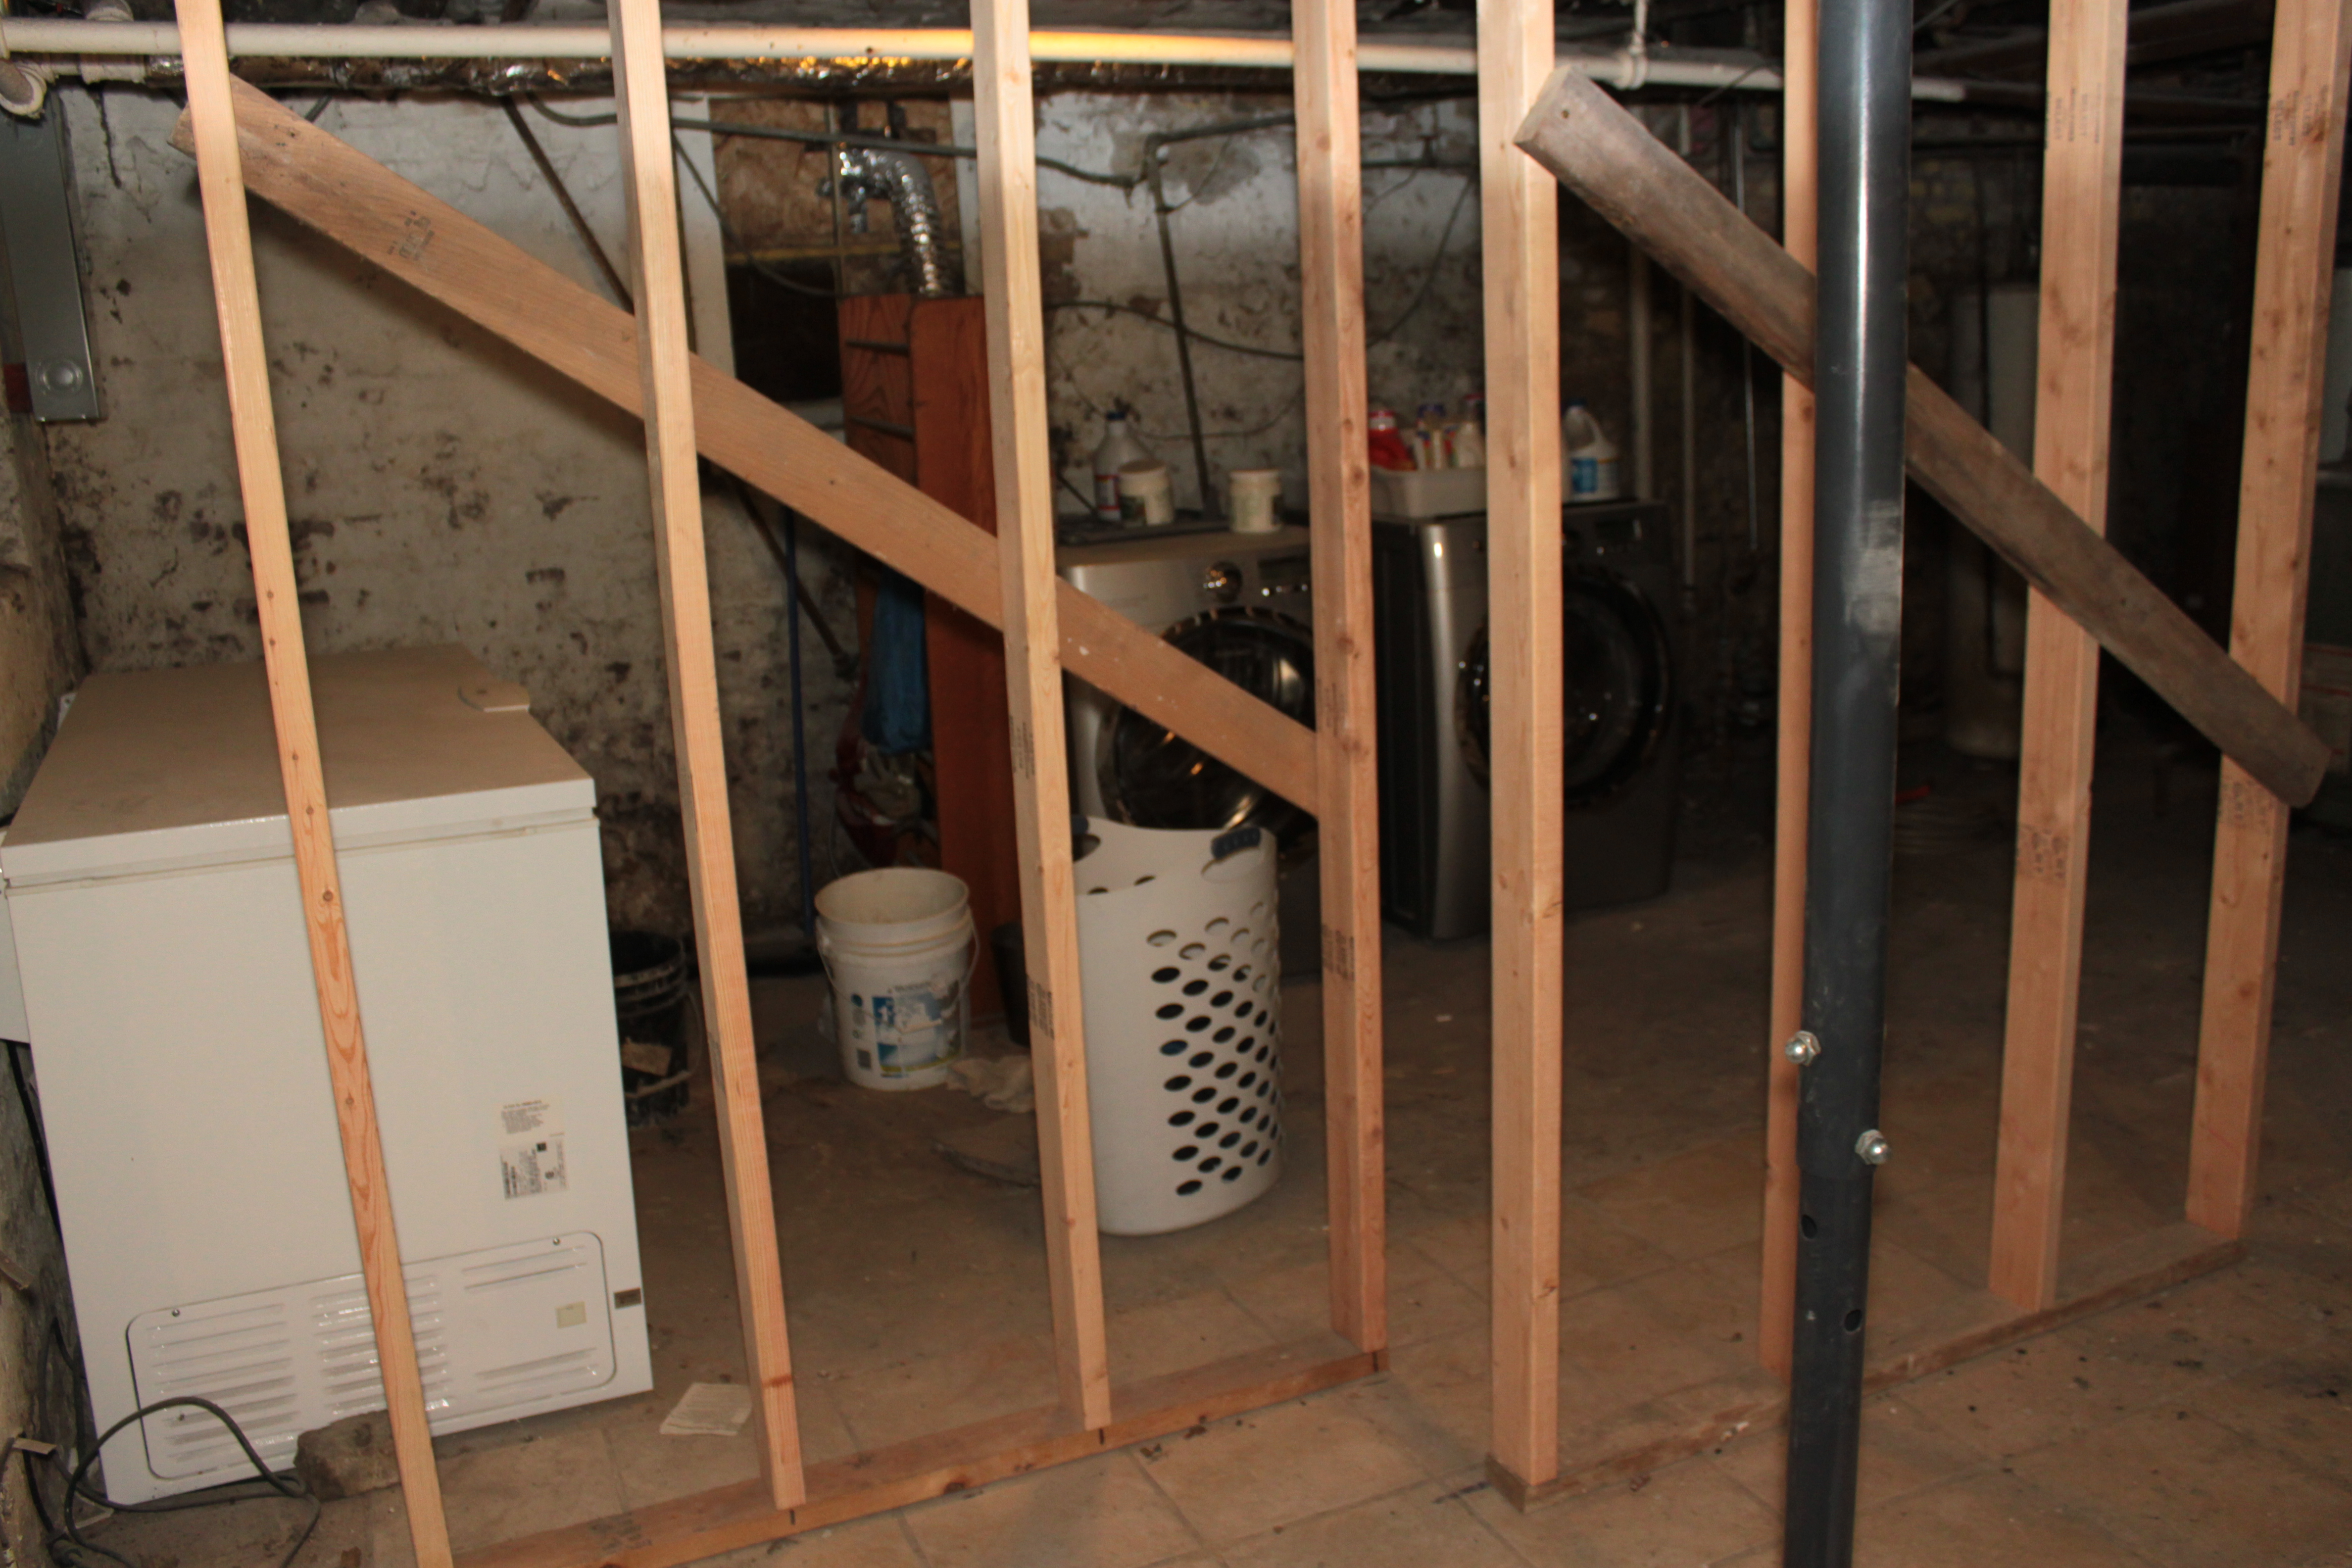
Temporary wall
With these preparations complete, last weekend Eriq came down and together we cut the concrete floor using a circular saw with a masonry blade. The plan was to get the two holes completely dug out in preparation for pouring the new concrete footings. Unfortunately once we had the concrete floor out we found old stone footings under the floor in both locations.

Original footing
Removing these footings proved challenging and we wound up spending the rest of the afternoon prying them out of the holes. The task was made more difficult because all of the ground under the house seems to be solid clay. Fortunately that means the holes stayed nice and straight and didn’t cave in, but digging in it was especially challenging. Initially we were trying to break up the old footings, but stone proved harder than concrete and we ran to Home Depot to get a longer bit for the rotary hammer, hoping to drill holes through it and then break it into chunks. Once we drilled the holes we noticed the whole thing was moving and realized we could pull it out in one piece.

Stone footing
The second one we didn’t bother drilling holes in and just pulled it out. The stone footings were limestone but one of them had a sandstone cap on it, perhaps to help manage drainage. The strange thing is that the floor was poured over these, so whatever columns had originally sat on these were long gone. I planned to dig the rest of the holes during the week, but I ran out of time since I also had to pick up concrete.
The footings specs are 30″x30″x18″, and since there are two, that wound up being thirty-two 80lb bags of 5000 psi concrete, plus I bought a couple extra just in case. Combining the limits of the trunk of the car with the $5 off $50 purchase coupons we had meant we had to break it into several trips. All told we spent around $150 on concrete. I spent Friday evening and Saturday morning digging the footings out, though when my friend Mike showed up with the concrete mixer he said they weren’t wide enough at the bottom. I had failed to employ measuring tape technology to confirm the holes didn’t taper as they went down, so it took us a couple more hours to get the holes right.

Measured holes
Next Mike made up the rebar. Because he does road construction he skipped the regular method of just floating in rebar as you go and built rebar cages to go into the footings, set on concrete blocks to keep them a couple of inches off the bottom. Assembling these went pretty quickly, but it was after we placed them and remeasured that he decided we needed to make the holes deeper so there would be enough concrete over the top of the rebar.

Rebar cage
That meant we had to take them back out and spend more time digging out the holes, adding to the already massive pile of clay in the back yard that we took out in five gallon buckets. We’ll need to figure out where and how to get rid of that. My initial plan of just spreading it around in the yard was hatched before I realized it was all clay and not soil.

Footing depth
We verified our depth and placed nails at the edge to keep track of how high the concrete needed to be and to make sure it was level. I determined the depth to dig by starting with the outside wall footings. The bottom of the outside wall footing is the maximum we can eventually dig down the floor without underpinning. Then we’ll add a layer of stone and rigid foam to insulate the floor, which will have radiant heating. The bottom of the floor is the top of the column footing, so from there we measured down 18 inches. The laser level has proved invaluable for nearly every step of the process. I think even if I only bought it for this one project it would have been worth it, but I know it will be handy when we do the subfloor, the cabinets… everything really. I put it in the corner and from there had a level line that reached the corner outside wall footing we had dug out as well as the two column footings we were currently digging, making it easy to keep track of our depth given the fact the floor isn’t level at all.

Filling with concrete
We discovered the garden hose in the garage was full of ice and we couldn’t use it without waiting for it to thaw so we ran to Home Depot and picked up another one. Then we found the outside spigot was frozen and had to hook up to the faucet on the first floor. Finally we were able to start the concrete operation. Mike mixed up the bags in the portable mixer while I brought bags from the garage and took buckets into the basement. He added portland cement to the mix in order to get a better consistency, about three cups per bag. As we were finishing the first footing it was looking like we might be shy on concrete but in the end we had two bags left over, exactly the overage I had calculated.

Finished footing
Mike used his concrete vibrator to remove any air pockets and even out the consistency and then troweled off the surface to make it smooth. It certainly doesn’t need to be perfect since these will be covered when we put in the floor, but they look nice just the same. This picture also gives you an idea of how much ceiling height we’ll be gaining. The new floor will be four inches thick on top of the footing, so it’ll be about six inches lower than it is now. That doesn’t sound like a lot, but it’s the difference between having to duck under the beam for me at 6’2″ and being able to stand up straight for Sarah’s brother who’s 6’8″.

Plastic cover
We put some plastic on top of the concrete to help it cure more slowly. It needs seven days to cure, but it will be longer than that before we put the new columns on them. Swapping the wooden beam for the new steel beam and installing the columns is probably about a month out since we need to coordinate a lot of people to come and assist.

Dirt pile
Once we had finished I spent the whole evening yesterday just sitting on the couch. I’m really sore after digging the holes, carrying out the dirt, and then carrying in all the concrete, and I’m sure Mike is too, but we’ve reached a milestone we’ve been working toward for a while. It feels really good to have something to show for all the work and finally have a piece (okay, two pieces) of the new house in place. The only other thing in the entire house that is the “end product” is the electric service, and we didn’t do that ourselves, so this is kind of a first for us. We’d both like to extend a big thanks to both Eriq and Mike for all their help with the footings.
January 27, 2013 at 9:55 pm
Call me if you have a big material run, like the concrete bags. If I don’t use the truck, I can lend it to you.
January 28, 2013 at 8:16 am
Thanks, Marcus!
January 28, 2013 at 8:16 am
Thanks, Marcus!
January 28, 2013 at 9:53 am
Wow. Sounds like quite a job. Glad you’re done with that step!