There are a few drawbacks to living in a house while you remodel it. It takes longer, it’s more complicated, and you often have to spend time on temporary solutions to keep things operational. In this case, the water heater and laundry in the basement needed to be moved up to the first floor so the basement dig out can continue.
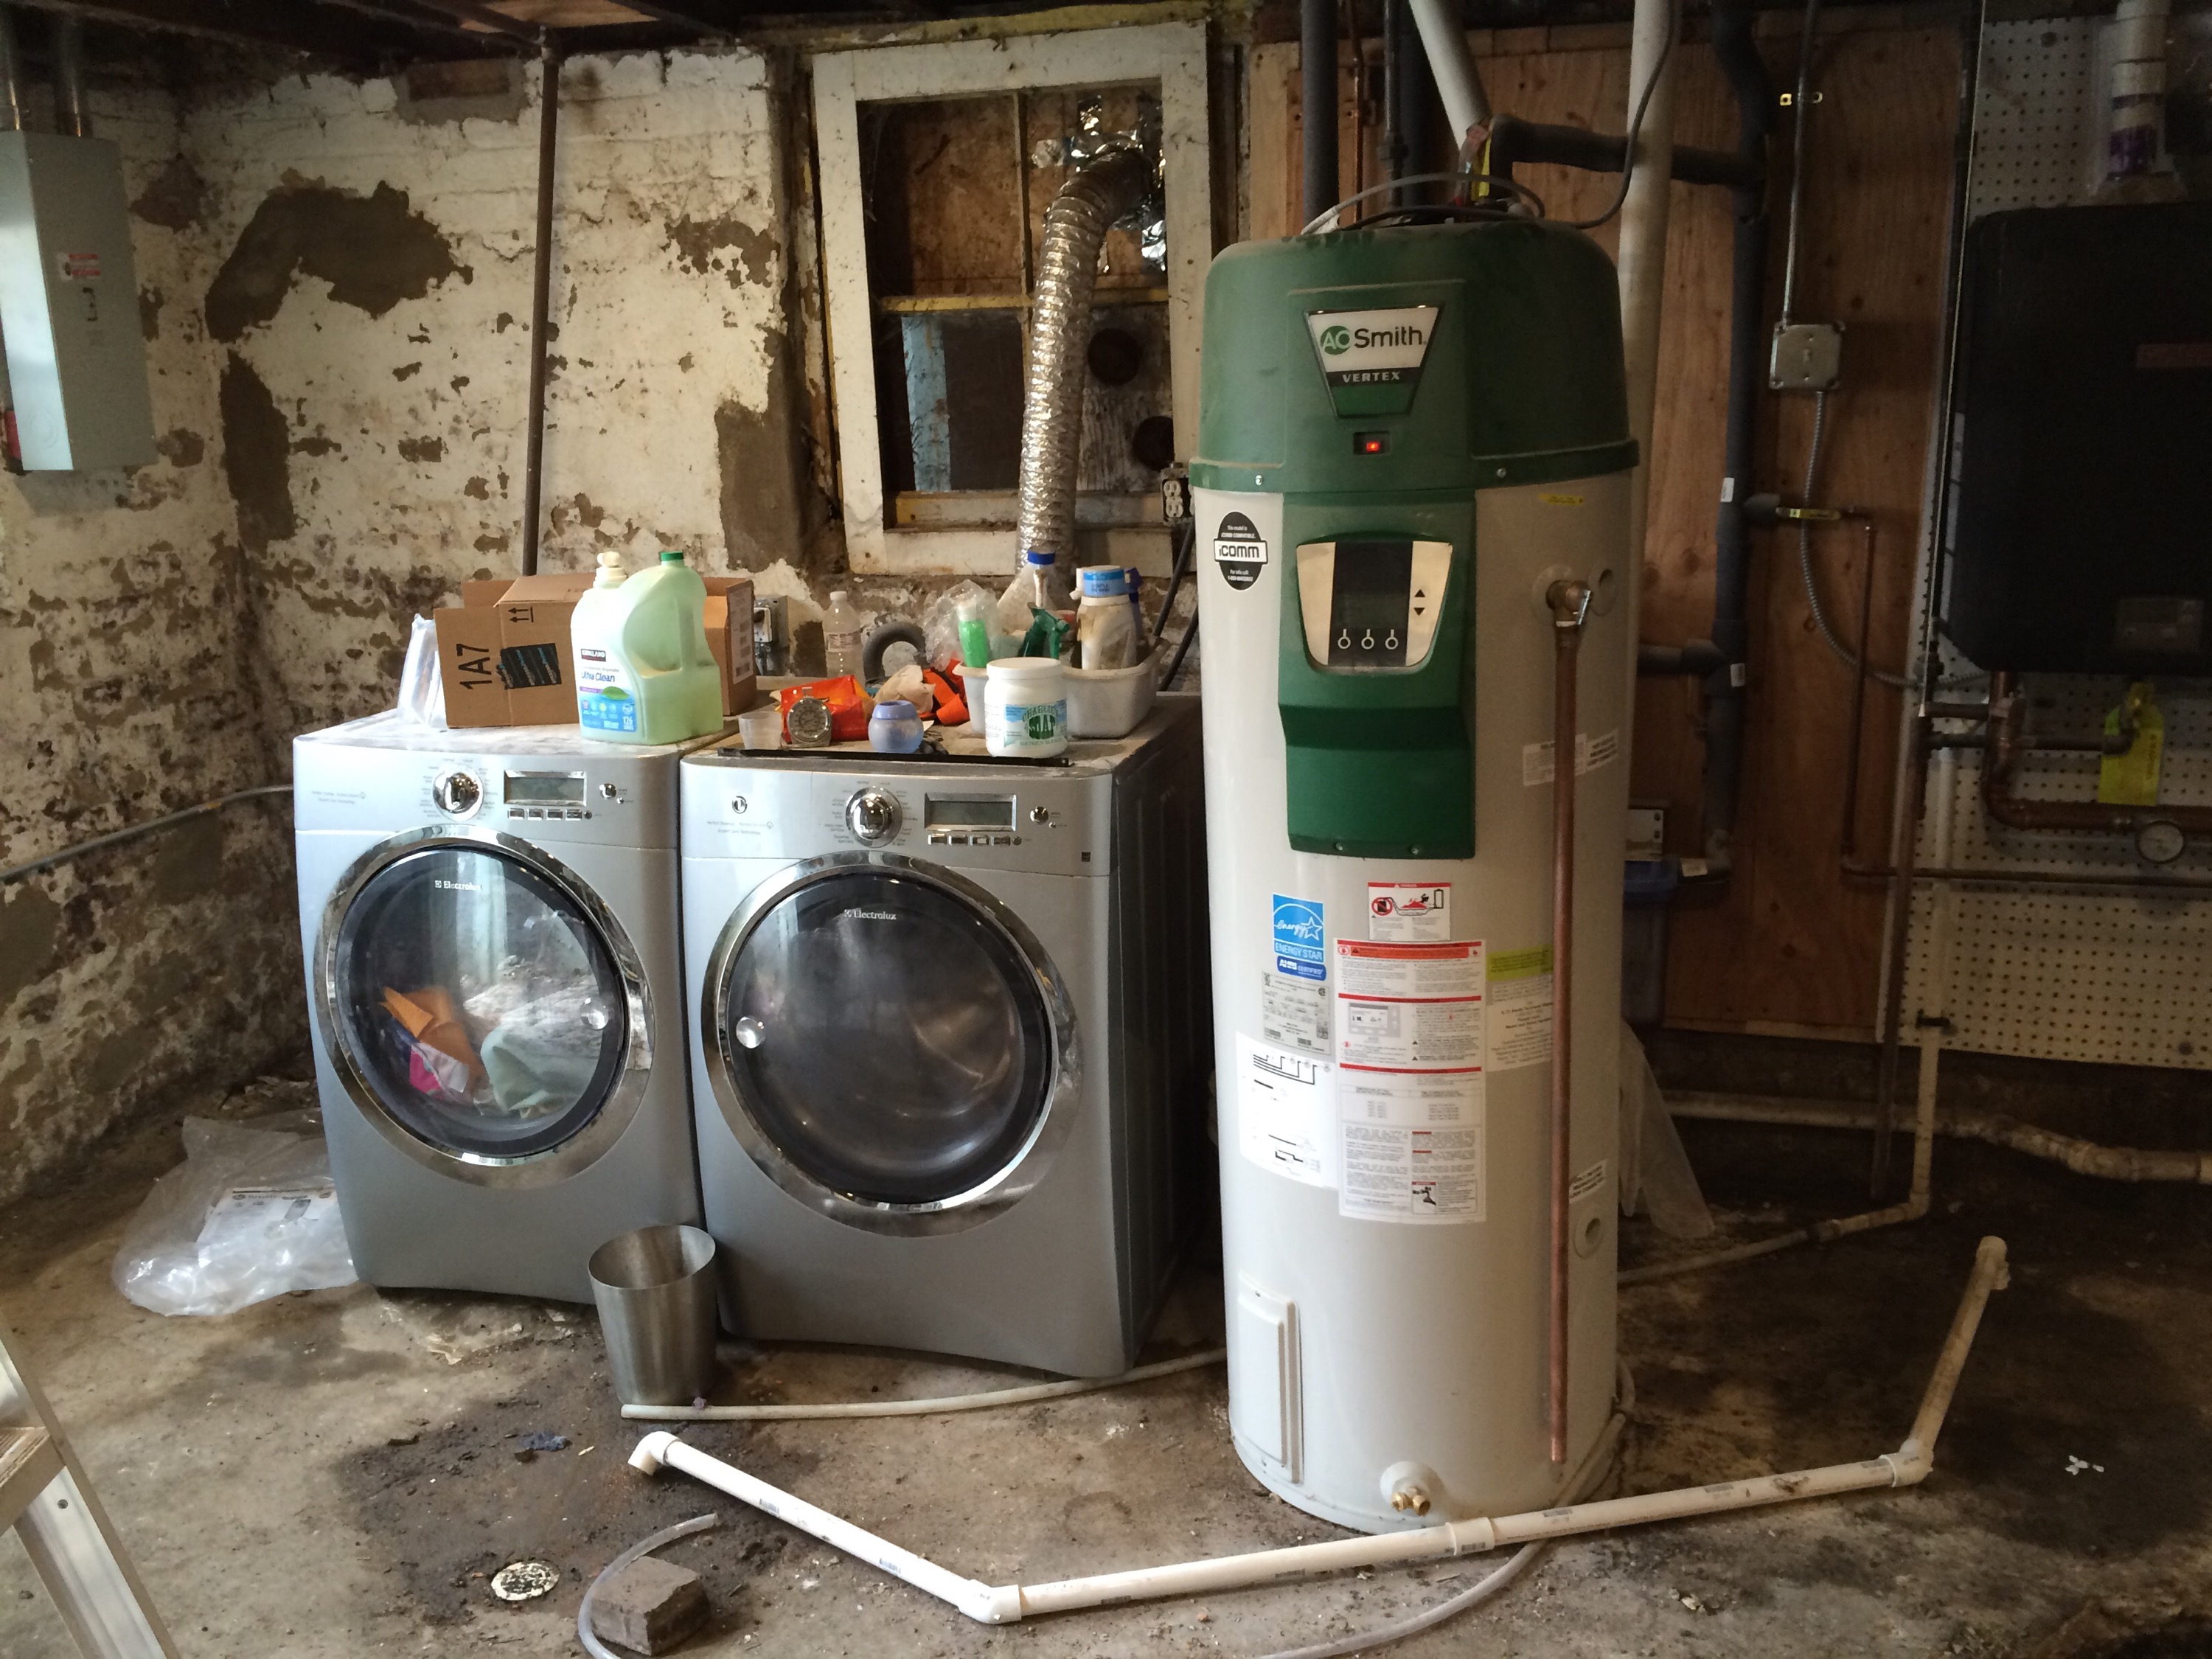
Basement water heater and laundry
We installed the water heater back in August of 2013. At the time we were getting everything disconnected from the chimney so we could redo the subfloor on the first floor. When we decided to do things the right way and do the basement first, we had to reshuffle things. We considered disconnecting everything and moving out for a few months, but instead we just moved the water heater to the first floor temporarily and rerouted the plumbing. I even managed to hook up the laundry, so we don’t have to go to the laundromat for the next several months.

Relocated to first floor
Getting gas, electric, water, and venting run was a task, but I simplified it by using PEX tubing and quick connect fittings for the plumbing. PEX isn’t code in Chicago, but this isn’t permanent so I’m not too worried about it. Once the new basement floor is done we can move it all back into the basement. I took off a few days from work this week and got everything set up on the first floor for about $150 in materials. The whole house water filter had to get disconnected, but because of how we plumbed it we were able to just bypass it with a few valve turns.


The next step was to fix the drainage. The long-gone basement bathroom had been badly spliced in where the cast iron stack connected to the vitrified clay sewer line. I repaired that connection with a section of PVC and a rubber gasket. I had to cut out the cast iron and the broken clay. I did both with a diamond grit reciprocating saw bit. Don’t waste your time on the carbide bit. That thing is crap, just spend the extra few dollars. Once that connection was made, I redirected the drain from the kitchen (and laundry) into the main sewer instead of the collapsed line that goes to the catch basin and backs up all the time. When we replace the underground sewer line this will get changed again, but for the time being we don’t have water all over the floor and noxious sewer gas leaking in the basement, which is nice.

Everything relocated
Finally, with everything moved and rerouted, I took up the last section of concrete floor.

Concrete removed
Now we can finish the dig out! We have nine days left with the mini-excavator before our month is up and we have to return it, so we’ve got to press on and get this thing done! It’s looking like one more dumpster after this one should finish things up, or roughly 2 concrete dumpsters and 4 dirt dumpsters total (plus the 2 debris dumpsters from the garage and back porch demo). It’s been a busy Spring.


