Tag: planning

Estimating

State of things

State of things

I talked a while back about the need to get the subfloor in, and how we wanted to hire it out. So far that hasn’t happened. We put out a few requests for quote, one came back quite high, one never got back to us, and one said that we didn’t actually need to level the floor. Since I don’t want a ¾” slope in the floor, I started work on the back section myself with the help of Mike, Sarah’s dad. It’s been slow going, though we haven’t exactly been working on it constantly. We made a little progress last weekend but got sidetracked insulating the attic, which incidentally has been a marked improvement.

I’m trying to work out how long it’s going to take to do, but there are a lot of variables involved. For example, Sarah’s in the midst of writing final papers and we’re heading into the holidays, so I don’t have a ton of optimism about making much progress the rest of the year. We’re taking a much needed vacation in early January, but I’m hoping to switch into high gear after that. With Sarah done with grad school I should be able to devote a lot more time in the evenings to working on the house. I also expect that once I figure out the best process for leveling the floor and get the hang of it, it should go faster than it has thus far.

The sooner we get the subfloor done, the sooner we can get heat in the first floor (assuming Lester ever finishes the boiler install). It’s also the sooner we can frame, spray foam, and start really making progress. If I can finish the subfloor by the end of January, I really think there’s a chance we could move into the first floor by the end of the year (2014). I may be delusional, but so long as we hire out the electrical and plumbing and don’t run into too many surprises, it seems like it’s possible.

Stair Planning

We’ve got two parallel tracks for the next little while: framing the first floor and the mechanical room plumbing. For now I’m working on the framing. My friend Matt B. will be down tomorrow and Friday to help work on the house, so we’ll be tackling the opening for the stairs in the first floor. In order to be ready I had to go back over the stair calculations, re-measure everything and come up with the final plan and position of the stairs. The stairs are extremely complicated because everything has ripple effects and there are some tight constraints.

Stair Planning

Stair planning

For example, the first floor stairs will go straight up to a landing, turn right 90° and go up the remainder. The bottom of that landing needs to be more than 80″ above the floor so that we can put the stairs down to the basement underneath it. The stairs from the second floor to the attic are above the first floor stairs. Those stairs have a landing directly above the first floor stair landing. We need at least 80″ from the top of the first floor landing to the bottom of the second floor landing plus another 80″ from the top of that landing up to the roofline, and there needs to be a consistent rise and run to the stairs to allow them to get to the correct height at the correct place.

To further complicate things, the brick foundation is thicker than the frame walls, so the finished first floor wall will be 9″ from the finished basement wall. In order to have the minimum 36″ stair width going down to the basement, the stairs above them must be wider, which means the landing must be wider and deeper, and the stairs from the landing to the second floor have that much less space to go up the remaining distance because they can’t go through the LVL beam we just put in. Despite all of that, we did have some play in where the stairs could go front-to-back. Moving them back makes the front bedroom on the second floor bigger, but the coat closet, pantry, and walk-in closet in the master suite smaller. We eventually figured it out.

First floor stair opening

First floor stair opening

Despite the stick drawing of the stairs, I did account for the head room under the stairs after stringers and drywall. Everything checks out, but it’s very close to the 6′ 8″ minimum height. I’d really like to have more clearance, not just for tall people but for moving furniture, but unfortunately there’s no good way to fit more in without building a dormer in the attic above the stairwell, something we really don’t want to do.

The stairs from the first floor to the second will be 42″ wide with 11″ treads (including a 1″ bullnose). From the floor to the landing they’ll rise 7 ⅝” per step, and from the landing to the second floor they’ll rise 8″. The stairs to the attic and basement will have an 8″ rise and a 10″ tread. We’ll build the stairs from framing lumber (rimboard for the stringers, OSB for the risers and treads), and eventually cover them with finishing treads and risers that match our floors.

Heating Things Up

One of the major projects in our remodel is replacing the heating system, and I’ve been thinking more about it recently because our house is chilly. I sometimes feel like living in our old house is actually a trip back in time, where I need to wear a house robe and slippers over layers of clothes just to fend off the cold. Our efforts to weather seal are hindered by a complete absence of insulation in the walls or ceiling.

First floor demoed

Currently we have an inefficient old boiler with steam radiators. There are three radiators on each floor with pipes running through the basement and up through the first floor to reach the second, plus a brick chimney in the center of the house that both the boiler and the water heater share.

The challenge is that we’re remodeling in phases (first floor then second) but we have one heating system. We’re planning to replace it with a new high efficiency boiler (which will direct vent rather than need a chimney) and radiant floor heating, in our case a system of panels that install on top of the subfloor and have pex tubing run through them. In order to finish the first floor, we need to remove the chimney, pipes, and radiators from it. That means that the old heating system will no longer work but the new system would only be installed on the first floor, leaving us without heat on the second floor.

Quik Trak

Because of this I had originally been looking at a radiant heating system that installed under the floor, so we could heat the second floor from below before we remodeled it. There are a few problems with this approach: it’s not as efficient as the above subfloor system because it has to radiate through an extra inch of (non-conductive) wood, we’re planning to replace the plank subfloor with OSB and installing the pex tubing to it would prevent us from doing that, and finally the new system will be sized for the highly-insulated walls we’ll eventually have and most likely will not be powerful enough to heat the second floor until the insulation is installed.

So, how can we heat the second floor if we can’t use the radiators and don’t yet have radiant floors? One option is the forced air system we’re planning to install for air conditioning and ventilation. We could get a furnace rather than a simple air handler and install the ductwork sooner rather than later. Because the ducts will go through the attic and basement, they won’t require significant intrusion into the second floor, just a vertical trunk that would go through our bedroom. It would also give us a supplemental way to heat in the event we ever had a problem with the radiant system. However, we still have the problem that this system, even if we wanted to install it, would most likely be sized for the eventual high levels of insulation, not our current drafty state of affairs and might not be up to the task. It’s also a large up-front expense that we were planning to put off for some time.

That brings us to the other option: space heaters. I started looking at electric baseboard and oil-filled heaters. While not a very cost effective way to heat a home,  neither are our steam radiators. It’s entirely possible that running electric heaters would cost less than running the boiler, considering Chicago’s electric rate just dropped to 5.424¢/kilowatt hour and the fact we’re only heating one floor. Next, I briefly explored the option of an electric heat pump, which is much more efficient and can cool as well as heat, but it also costs ten times as much to buy and for a temporary solution it just doesn’t make sense.

In addition to the operating costs, if we got electric heaters we’d also need to run new wiring to power them, plus we would need at least three of them given they’re limited to 1,500 watts each. Once I started thinking about running three new circuits, it occurred to me that for about the same amount of effort I could run one gas line and put in a vent-free natural gas heater. A gas heater would deliver several times the heat of an electric baseboard and cost much less to operate. Best of all, while not as cheap as baseboards, they’re fairly inexpensive.

GWD308

As with everything, there is a trade off. Vent-free heaters cause increased moisture in the house and can adversely affect indoor air quality. Unfortunately, the direct vent alternatives that put out the same amount of heat cost several times as much and are less efficient. Despite the concerns, vent free is safe and with the house being as drafty as it is I’m not too concerned. They have built in oxygen depletion sensors and we have a carbon monoxide detector as well.

My plan is to get one, install it, and see if it keeps the house warm and if it’s cheaper to operate. If so, we can get rid of the boiler and radiators right away. If not, we can keep using the radiators for now and only switch to the heater for the second floor when we have to remove the chimney.

Project Review

Sometimes it helps to take a moment and look at where we’re going and what we’ve done so far. At the moment I’m thinking about a bunch of different projects either in progress or upcoming, so to keep everything straight I’ll lay it out. It also helps for any random or occasional visitors to this blog to know what’s going on.

So, to recap, we bought this house in June of 2011. In addition to the first and second floor units, there was a basement apartment that was like something out of a horror movie. We spent two months fixing up the second floor unit so that we could move into it. When we moved in we put the laundry on the first floor where the kitchen had been as well as stored a bunch of our stuff in one of the bedrooms. Here’s the second floor living room before and after painting.


We knew that the support beam and columns in the basement needed to be replaced, so our first major project after moving in was to gut the basement unit. It was a moldy, disgusting mess. Here’s a picture of what it looked like before and after we gutted it.


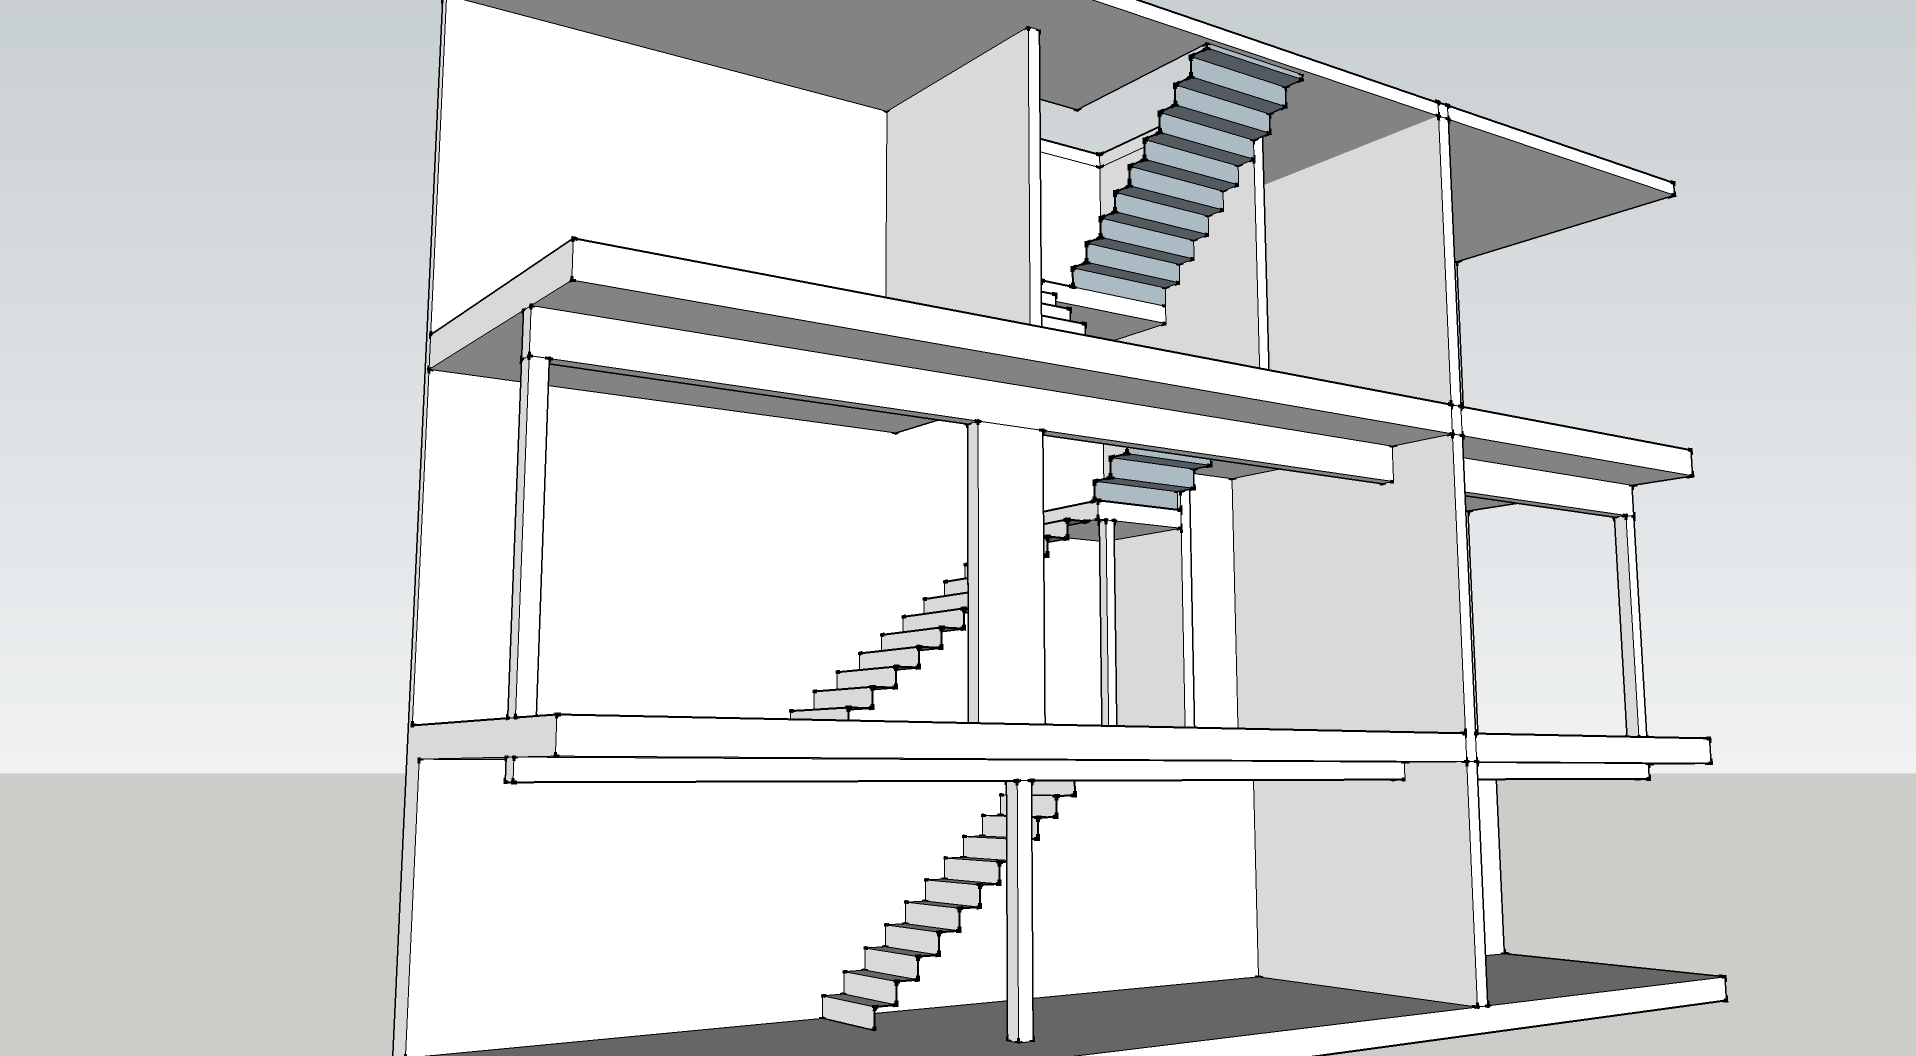
With that done, we got some quotes on replacing the wooden beam and columns with steel, including new footings. The quotes were a lot of money, so we held off doing it right away. Our son Derek was born at the end of November, which interrupted some of our work on the house. I started using Sketchup and came up with a floor plan we liked. I even made a whole 3D model of the house, inside and out.


Then we found an architect and got him working on plans and permits with the city. We also started working on selecting contractors, including electrician, plumber, radiant heat and air conditioning installer, and concrete mason. Getting our plans together with the architect took longer than expected, so we decided not to wait until we had our permits before demoing the first floor. After moving the laundry and storage to the basement, we threw a demo party last month and gutted the whole first floor. Here’s the before and after gutting the first floor.


Along the way there have been a lot of smaller projects, like moving gas lines and plumbing, re-routing electrical, getting a new electrical panel installed, exterminating cockroaches and disposing of at least a dozen rat carcasses, checking the depth of our foundation footings, and a lot of planning.

So what’s next? Our immediate steps are to select a concrete mason, since that’s the only thing holding up our permit submission. Once that’s submitted we should have permits in thirty to sixty days. ComEd will be installing our new electrical service in the next few weeks. I have to remove the electrical running along the  beam in the basement, since we can’t replace it until I finish that, and the seemingly interminable cleanup on the first floor will need to be completed, including our room full of lath.

Once we have our permit, the beam and column replacement in the basement can take place. We may wind up doing that ourselves because it would save us a ton of money. Once that’s done we can demo the foyer and replace the bearing wall in the first floor with an LVL beam and columns, and close up and replace windows. We can start replacing the plank subfloor with plywood.

Next spring we’ll put in a new high efficiency hot water heater and boiler that will direct-vent, allowing us to remove the chimney. We’ll take out the front stairs, demo the second floor office (where the new stairs will connect), and frame the opening for the basement stairs. Then we can finish the subfloor and install the new stairs.

Then and only then can first floor construction really start: new front and back doors, framing, plumbing, electrical, and the first floor radiant system (all big projects themselves). Then it’s insulation, drywall, flooring, cabinets, doors, trim. I honestly don’t know how long that will take, but I’d be very surprised if it’s finished by the end of 2013, and that’s just the first floor.

Some of these pieces may move around. We were hoping to have the new radiant system in by this fall and that didn’t happen. We thought we’d have the basement beam in last fall. Things that cost less like replacing the stairs  may happen sooner –maybe even this winter– while replacing the windows doesn’t happen until later. Some things are fixed in order. We can’t frame until the subfloor is replaced, and we can’t do that until the beam and bearing wall are replaced, the chimney and radiators are removed, and the stairs are replaced. The chimney can’t be removed until we have the new radiator and hot water heater. It’s a very big jigsaw puzzle.

With my full time job, Sarah’s graduate school and job, and a 9-month-old baby, it’s going to be a long process. If you’re considering taking on a project like this yourself, make sure that firm timetables are something you can live without or that you have a lot more free time than we do. Make sure that if you’re doing it with someone else that you both have clear expectations. I still think that working on a two flat is the perfect way to do it. One of the things that makes this project so bearable is that when we’re done working we can just go upstairs where there’s no dust or debris, cook dinner in a real kitchen, relax on the couch, and sleep in our bed. A lot of home improvement projects aren’t so lucky.

Greenwash Hogwash?

So, the biggest decision at the moment is whether or not we are going to go through the Chicago Green Home and/or LEED Home certification process.  Matt probably touched on this subject in previous posts, but it is turning out to be a much bigger deal than we had anticipated.  For one, the architect will charge more for going through the process than if we skip it, because the plans are much more complex for the certifications as is required.  And, adding in additional items to make the requirements of the certification will be more expensive.   In general, doing the Green Home and/or LEED certification costs more.  Much more than we thought that it would, unfortunately.

The question of the day is… Is it worth it?  We were planning on doing most of the energy conservation projects/upgrades anyway, so this process isn’t too much different from what we were planning on doing.   But, how much value DOES it actually bring to the table?  We dug around to see if we could get concrete numbers on how much more valuable a home is with the certifications vs. not, but the best that Matt could find was office building comparisons.  This particular type of building with a certificate is just too new to get an accurate sense of the value that it would be adding to our home.   Will buyers want LEED certified homes in ten years?  Or, is this just a fad that will mean little to nothing in the too near future?  We don’t know.

For now, we continue to get quotes from architects and dig through the internet to find out more information on what we are signing up for.  Because, in the end, we are doing this to make money – not spend it on unnecessary procedures.