Tag: rigid foam

Basement Weatherization

We’ve jumped into winter with a dump of snow and a drop in temperatures, and this is our first winter since we moved down to the basement. The radiant heated floors are a big plus, and having warm feet and 72° indoor temperatures is a welcome change from the upstairs, where our temporary radiators were not up to the task of heating our drafty house, even when supplemented by electric heaters. We had a bit of a problem earlier in the season, mostly because I wasn’t paying attention to a critical detail of our new heating system. In addition to the thermostat and the boiler temperature, there is a dial that controls how warm the basement floor loops can get. Lester, our radiant installer, had left it at a reasonable 80°, but since our brick exterior walls aren’t insulated (yet) and there’s nothing between our heads and the unheated upstairs but a layer of OSB, that wasn’t cutting it for keeping our air temperature where we wanted it. Once I discovered the dial (and Sarah pointed out that she had told me about it after Lester told her), we cranked it up and now the basement is staying warm, mostly.

Window caulking and foam

I say mostly because there was a pretty big exception. Even before the dramatic temperature drop of this week (-7° last night), the kids’ bedroom was cold and our bedroom wasn’t much better. I tried feeling with my hand, using a laser thermometer, and blowing out a candle to watch the smoke, but I couldn’t isolate where the cold air was coming in. I found a few spots around one of the windows in the bay and I caulked it, but it didn’t make much of a difference. We finally broke down and bought a tiny thermal camera that plugs into a smart phone. It’s a lot cheaper than a full size thermal camera, and it actually does a pretty decent job. In the image below, you can see the spectrum temperature range on the left side, from black to white.

Bay window thermal image

I took it into the kids’ room and started finding cold spots (and thus leaks) right away. Most of this was centered on the bay windows, so I spent a fair amount of time caulking and spray-foaming all around, switching back to the camera to get new readings on the heat in various spots. I found a lot of the cold air was coming from the top of the brick walls along the front, and I filled those cavities with “big gap” Great Stuff.

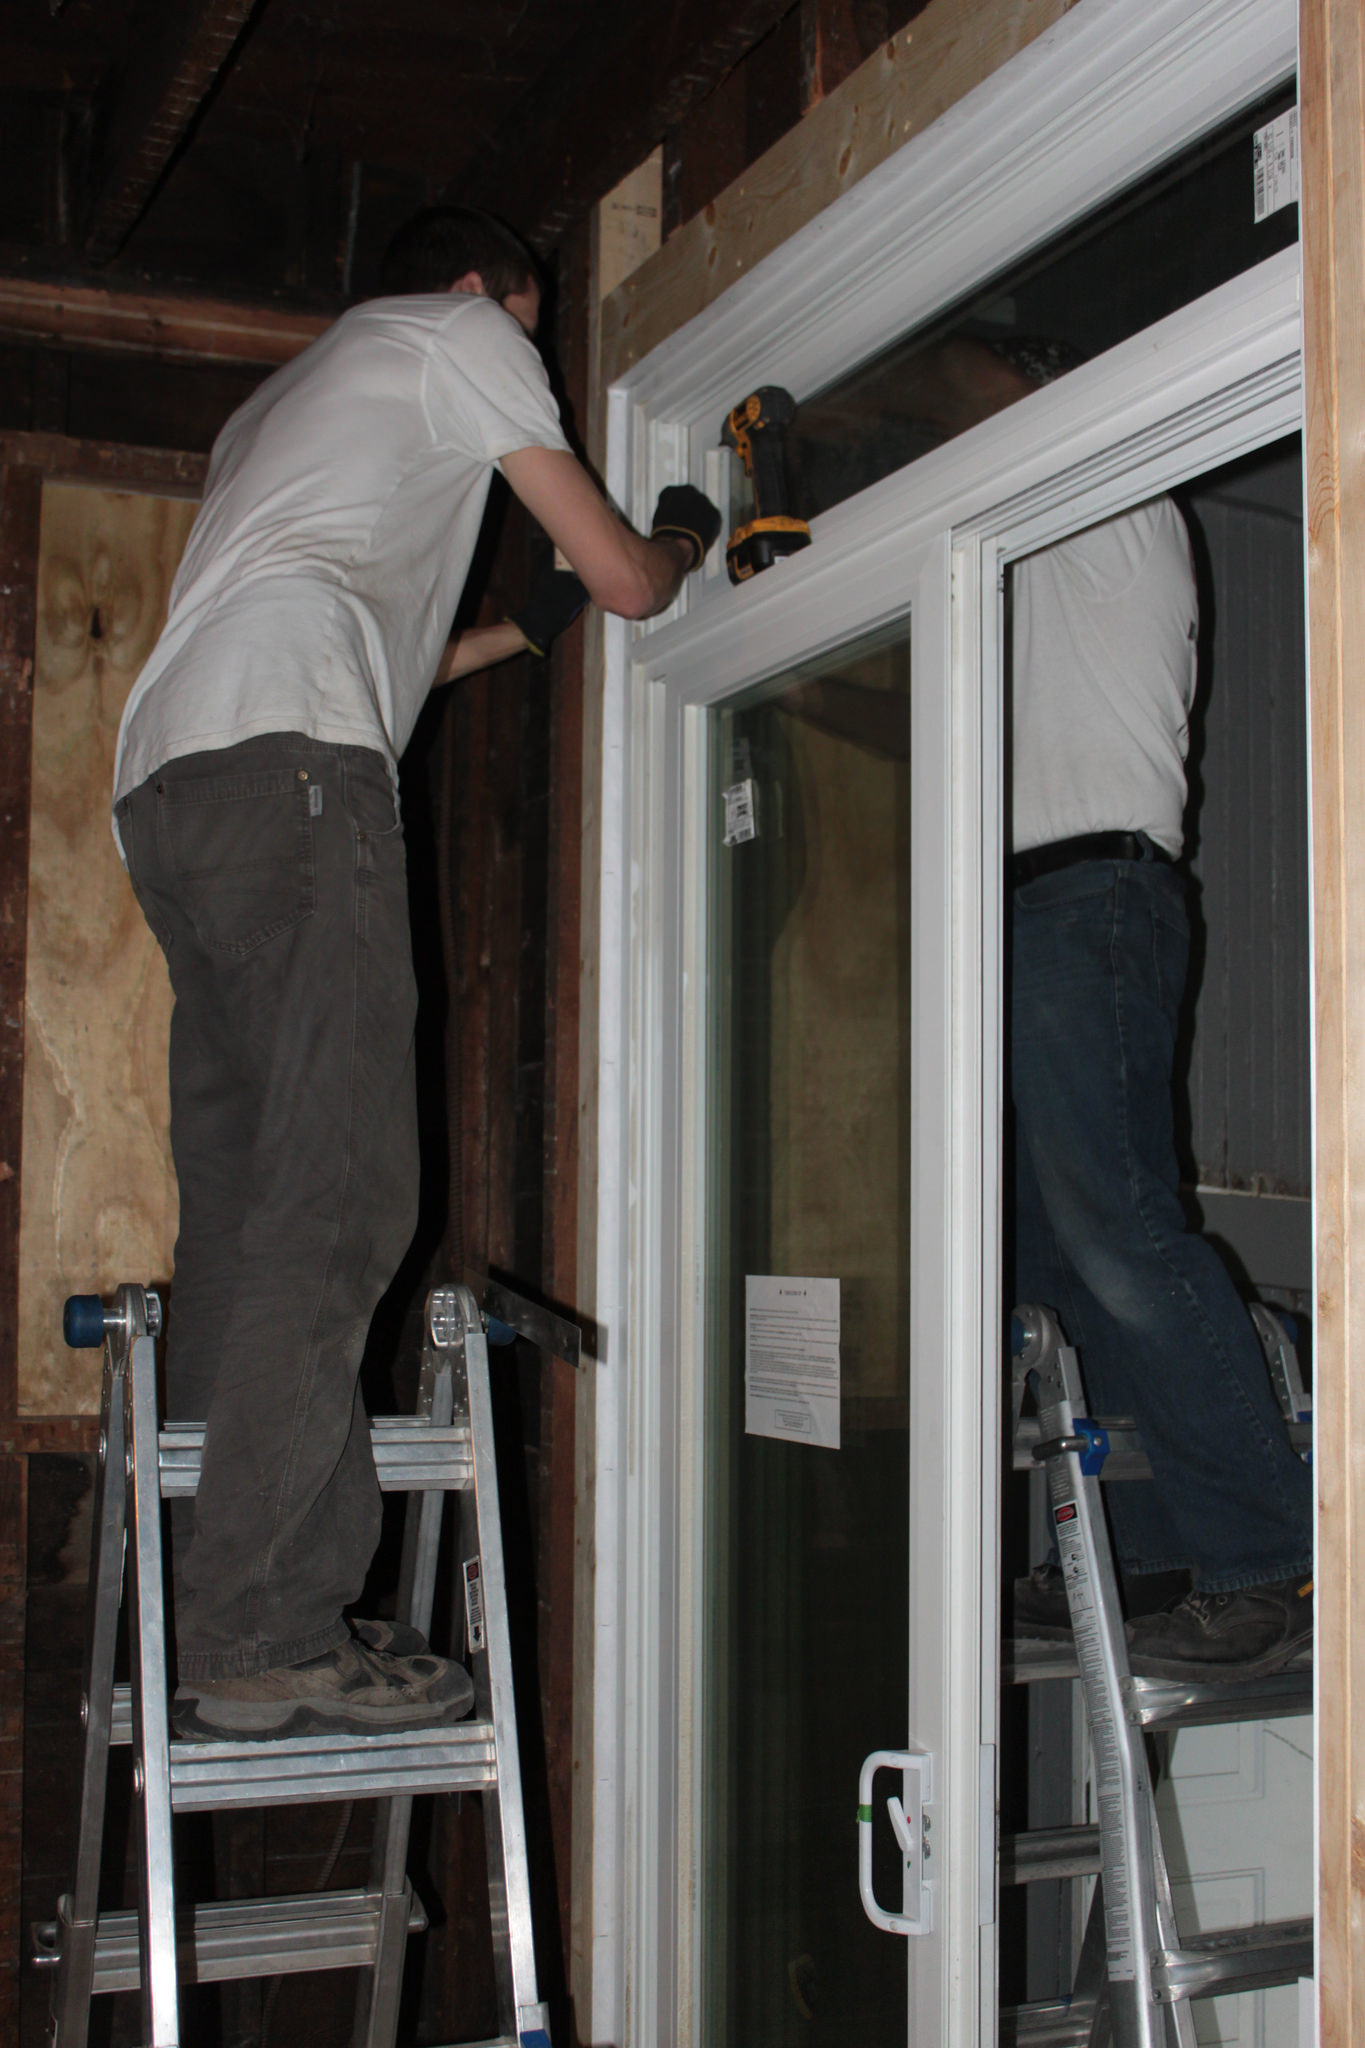
Rob installs rigid foam

After this work, we were still not satisfied with how cold it was, and the camera started pointing us to the sides of the house where the floor joists above rest on the top of the brick wall, notched into a 6×8 rim board. We plan to fill all of these floor joist cavities at the outside wall with proper closed-cell spray foam, but not until all the mechanicals are in and we can do the rest of the exterior walls upstairs at the same time. Given that, we didn’t want to try and fill these all with Great Stuff, and Roxul mineral wool batts wouldn’t do much to stop the air flow. Instead, Rob, Mike, and David came down to help and we cut pieces of leftover 2″ rigid foam (originally for under the basement slab) and fit them between each joist for the length of the kids’ bedroom. The effect was dramatic: the room went from 10° colder than the living room to 3°. The next evening I followed up with our bedroom, but I ran out of extra foam before I could fill all of the joist bays. Even so, it was a noticeable improvement. I went back and found some more cold spots with the camera that I added some spray foam to and all-in-all it’s a lot more comfortable. Of course, now Sarah is saying the kitchen is cold, so I may still have some more work in front of me, but the camera is proving invaluable. Plus, I can lend it to friends so they can use it on their own houses. Thanks to Mike, Rob, and David for their assistance!

Sliding Door Installation

Back wall (before cleanup)

Back wall (before cleanup)

Now that the back porch stairs are out of the way, the next step toward getting spray foam installed is installing the back sliding door. My initial plan was to install the new sliding door first and then remove the existing back door, but the two wound up happening concurrently, since there wasn’t anything left to hold the sheathing on. We started by taking off the siding on the outside (fortunately only one layer here). I started and Sarah finished it up.

Sarah removing siding

Sarah removing siding

Once the siding was down I cut back the sheathing, which is when we realized we needed to take out the back door. Sarah did that while I ran to the store and picked up some supplies. We are fresh out of reclaimed 2x4s that are over 10′ tall, which is what we needed to re-frame the wall. That meant I needed to get 12′ 2x6s and cut them down on the table saw to the right thickness (~ 3⅞”).

With the back door gone and all of the sheathing removed, I framed in studs where the old door had been, sistering two studs next to each other to support the cripples above the door. Once that was in place I cut out the studs on the other side to make room for the new door.

The first step in framing the opening was to build a sill, since the balloon-framed house has a sill several inches below the floor. I sandwiched a piece of 1″ thick poly-iso foam between two cut-down 2x6s. That later proved problematic, since the screws that go into the bottom of the door lined up with the foam, so they don’t have any holding power. Ideally I would have put in wood blocks that lined up with the screws, but I don’t think it’s going anywhere. Next I added jack studs, king studs and a header, also sandwiched with foam. Finally I installed sheathing, using reclaimed boards from the house instead of plywood or OSB. It might be cheaper, but after all the screws I used, I’m not so sure.

So far this is all fairly standard. At this point the job gets a bit more complex, as we’re planning 2″ of rigid foam on the outside of the house. To account for this, all the doors and windows sit 2″ further out than normal so they sit flush with the outside, which makes for a simpler flashing detail.

Dean came over to help with the installation, starting with adding the 2×4 furring that surrounds the door. At the bottom we have the existing porch sill, so we cut back the porch flooring and built up the sill to the level of the door. Hopefully when we replace the porch that won’t cause issues. If not, we’ll deal with that when the time comes. Once the furring was on we carefully wrapped it with house wrap. When we eventually re-side the house, the wrap around all the windows and doors will get taped to drain wrap on the rest of the house. For now we left the rest of the sheathing exposed, since it’s inside the back porch.

Adding exterior foam and flashing tape

Adding exterior foam and flashing tape

The next step was to put ½” foam over the 2×4 furring. The 1½” thick furring plus the ½” foam will sit flush with the 2″ of rigid foam. I then used the same flashing detail I’ve done on the other windows and doors, putting 4″ Weathermate tape down the side corners and a plastic sill pan at the bottom. I added a piece of sill gasket under the drain pan to further seal the bottom of the door before we add caulk.

Sliding door installation

Sliding door installation

The last step was to tip in the door and screw it into place. We wound up cutting custom wood block shims on the top and side to secure it properly, but everything was level and plumb for a change so it went fairly smoothly. I still need to add more Weathermate tape to the outside at the top and sides to complete the waterproofing, as well as Great Stuff and backer rod on the sides and top, but since this is in the porch there’s no particular rush.

Derek tries out the new door

Derek tries out the new door

The door looks great, and even though it only opens onto the enclosed back porch for now, we can tell it will bring in lot of light once the porch is gone. The relocated light switch is now pretty inconvenient, but I’m sure we can deal with that for the time being. Now we can finish up the fire blocking and get to spray foaming!