Tag: stairs

Risers and Treads

Grooved riser (with glue)

Grooved riser (with glue)

It’s time for something more positive. This part of the stair project went extremely well. In fact, the only thing I had a problem with was the glue getting everywhere, including on my screw gun. The plan is to eventually clad the OSB risers and treads with hardwood, so there the OSB tread has no nose and it didn’t need to be as thick as a typical tread. Maybe I could have overbuilt it, but I already had a lot of leftover ¾” OSB from the subfloor so I used that. I didn’t want the treads to deflect, or flex at the back when you step on them, so I decided to cut a groove in the risers and a tongue on the treads so they’d lock together. I contemplated using the router, but instead I picked up a dado blade set for the table saw, which is awesome.

Riser and tread interlock

Riser and tread interlock

I first cut all of my treads and risers to width on the table saw with the regular blade, then cut them to length on the miter saw. Then I swapped in the dado blade and cut a ⅜” deep groove in the risers, ⅜” from the bottom edge. Next I cut out the bottom ⅜” of the edge of the treads, again ⅜” wide. The two pieces fit together like a glove. I wasn’t quite done though. I also cut out the bottom ¼” of the treads, ¾” wide, and cut all of my risers ¼” tall. As a result, both the front and the back of the tread locked into place.

Treads and risers installed

Treads and risers installed

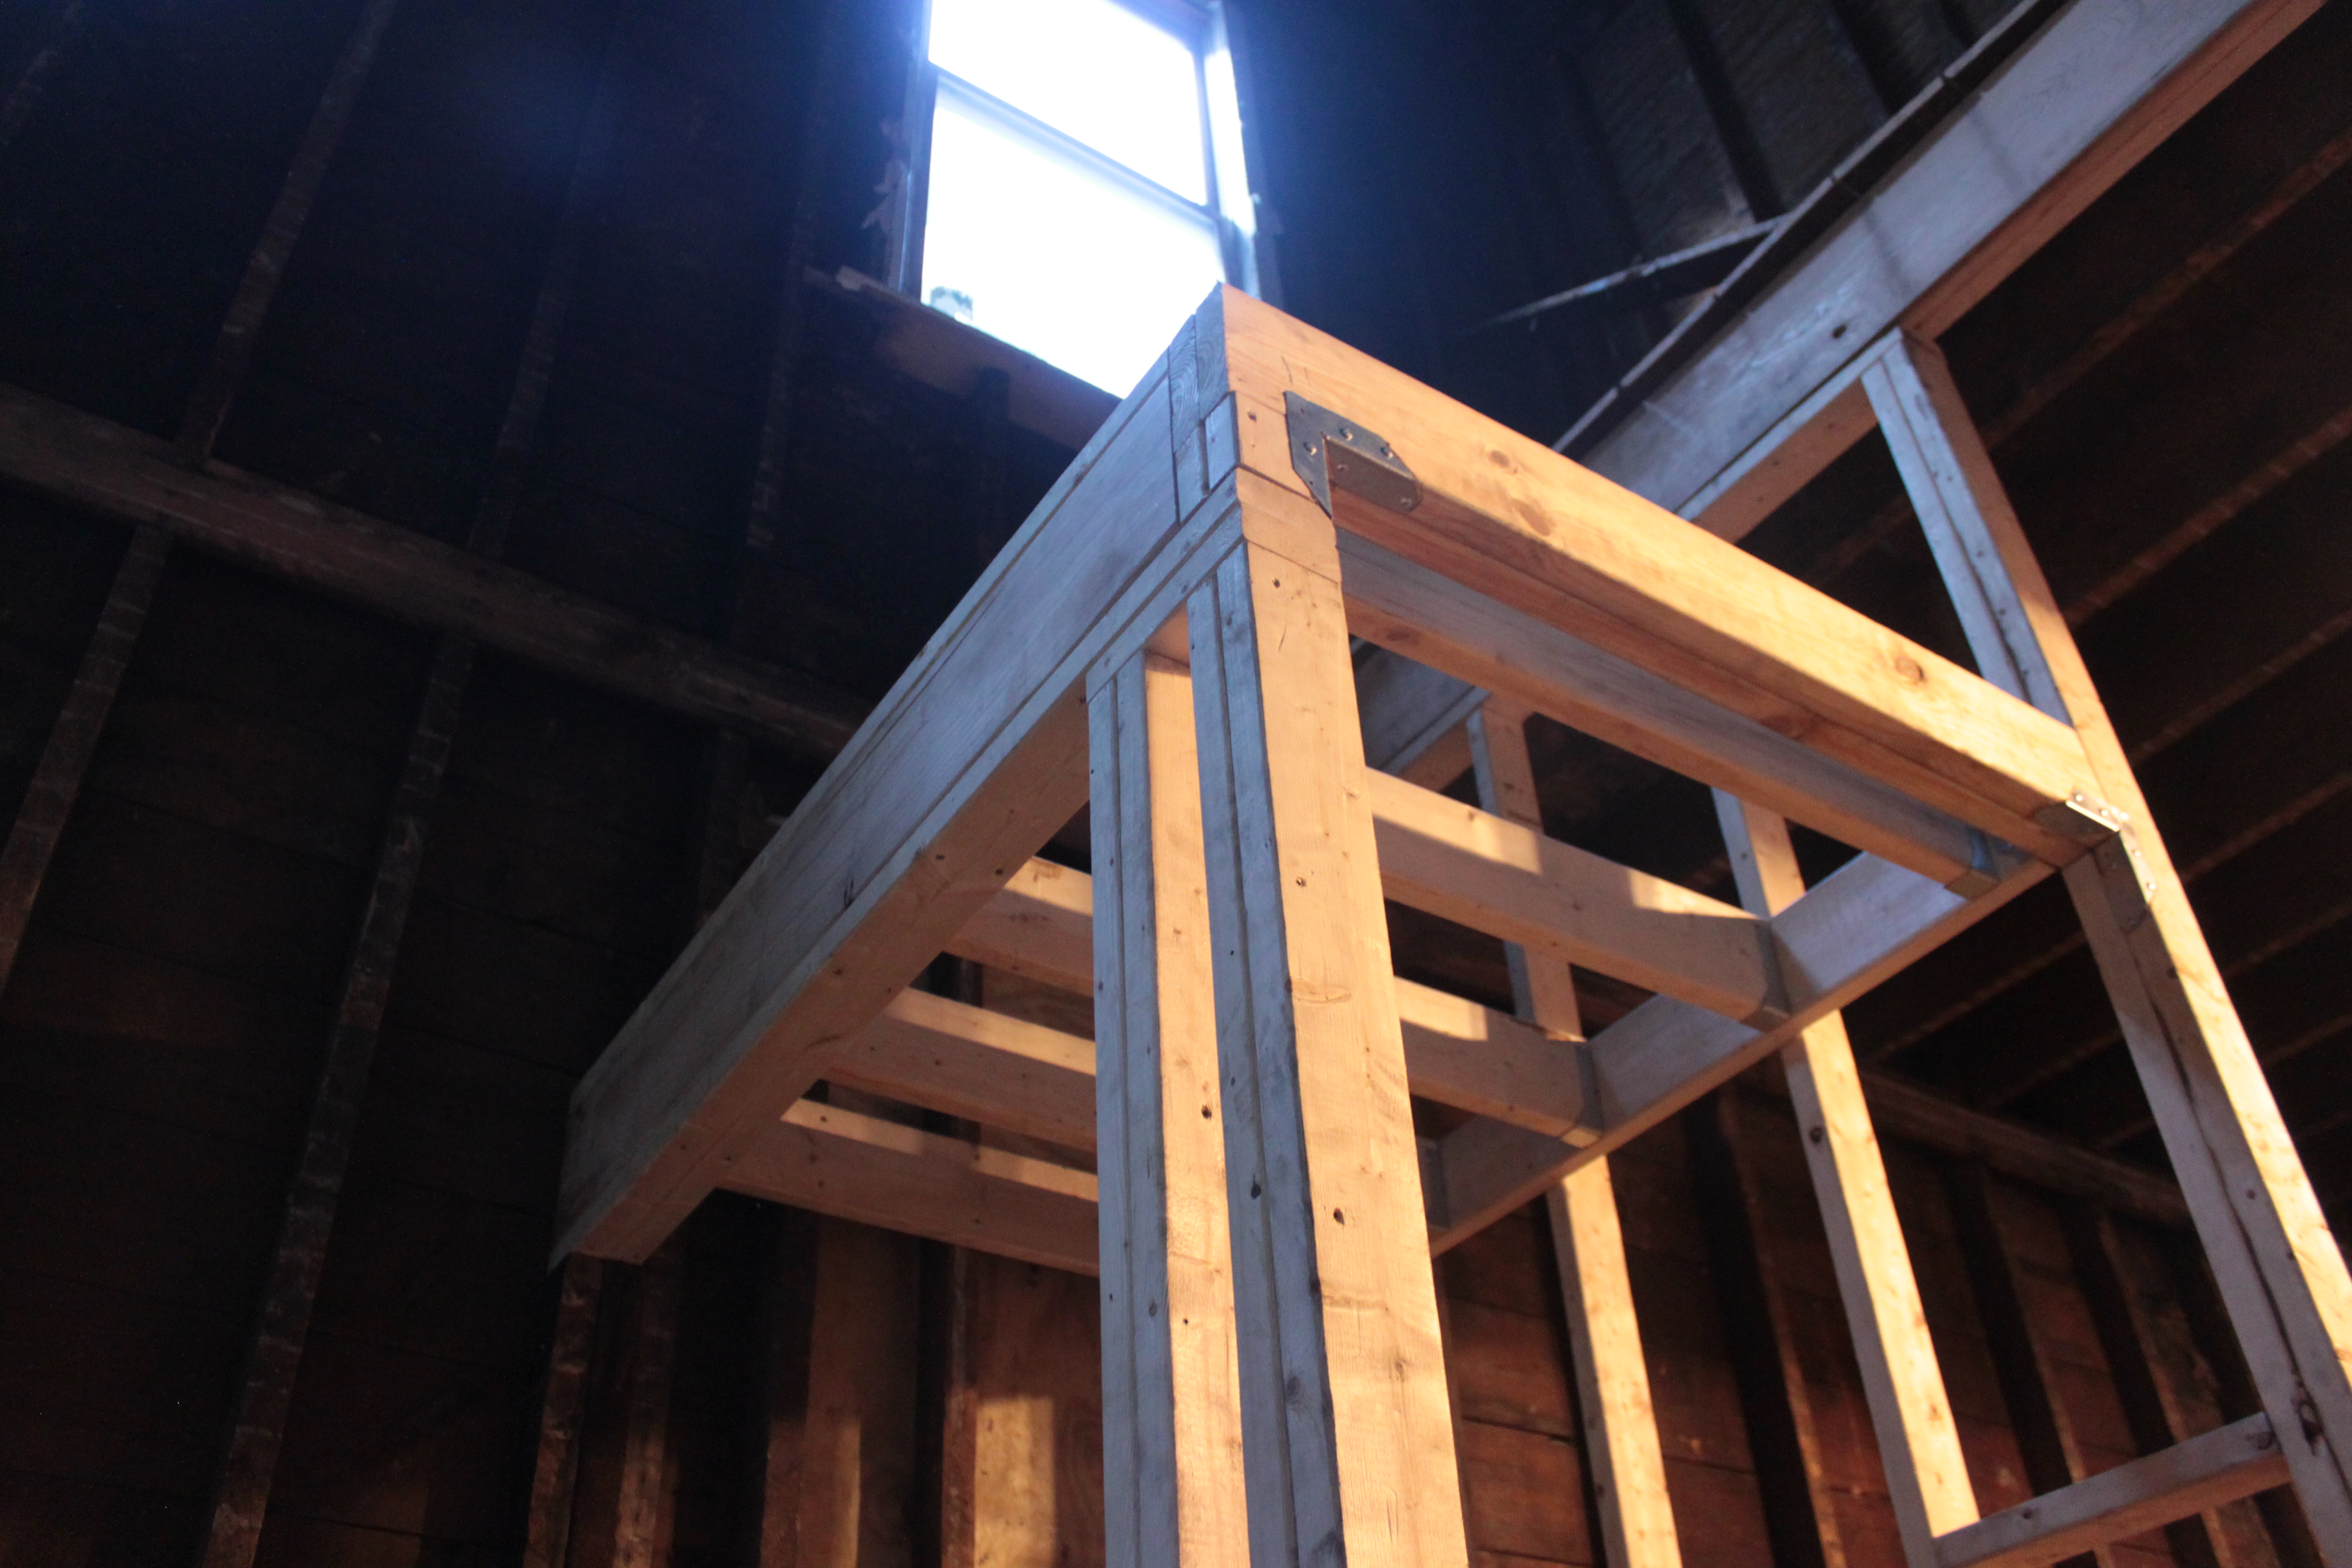
With my careful stringer work completed, gluing and screwing down the risers and treads was a fairly quick job. Every once in a while, something goes to plan, and I’m pretty freaking happy about it. Next step is the landing floor.

Stair Landing

It’s been a long time since I’ve updated, and I can’t say that we’ve gotten a lot done in the meantime. Between the new baby, Sarah having hernia surgery and accompanying recovery, and a break in momentum I’ve struggled to regain, we just haven’t gotten much done. The sense of stagnation is worsened by the flurry of work going on next door. In the last two months they’ve torn down the garage, dug down the basement and poured a new floor, re-shingled the roof, installed steel beams in the basement and first floors, new front and back porches, and completely framed the interior! We’re comforting ourselves by noting the things they did poorly, but it’s still tough when we’re not making much progress.

The focus at the moment remains the first floor stairs, specifically the landing. I spent a lot of time over the last few weeks staring into space on the first floor and then checking back to the revised plans. It’s one thing to have dimensions figured out and another to actually put hammer to nail, or impact driver to screw, as the case may be.

First floor landing

First floor landing

I started by building the corner support column, but the studs were depressingly wonky despite clamps and effort, so I took it apart and re-did it better. The parts that I struggled with the most were the points where the cross members met. I want everything to be supported well since it will be bearing the weight of the stairs, but that meant some complex corner joints. I wound up buying some brackets and joist hangers to reinforce everything, and the end product is very sturdy.

The stringers are on back order until the end of the month, so I plan to fill the intervening time by completing some of my unfinished projects and by framing out the coat closet and the rest of the wall at the back of the kitchen.

First Floor Stair Opening

My friend Dean came back last Saturday to help me work on the house. We spent some time sorting through my scrap metal pile, getting all the copper, brass, and aluminum separated and pondering what to do with the remaining near-worthless steel and iron. Then we started work on framing the opening for the first floor stairs.

Stair opening

Planned stair opening (not actually green)

The new stairs will be several feet further back in the house to increase the front bedroom size (currently 8′ x 7½’). This means the existing opening between the first and second floor needs to move. In addition, because we’re adding steps to the attic, the opening will change shape, from an L to a rectangle. One advantage of this design is we can put a solar tube in the roof above the stairs and a light well will allow natural light all the way down to the first floor.

Dean putting up the wall

Dean putting up the wall

After adding some blocking from below between the first floor joists to bear the wall, we put down a sill plate board and used the laser level to position a sistered double joist directly above it. Getting the joists into position proved the most difficult part of the process. We were able to frame the wall on the floor and tip it into place. The laser level proved accurate: once it was aligned on the sill and joist, the wall was perfectly plumb.

Sistered joist on opposite side

First sistered joist on opposite side

Sunday I positioned the sistered double joist on the other side of the stair opening. This set the boundaries of what need to be removed and what needs to be filled in. Last year when we demoed the old stairs, we also demoed the middle bedroom we were using as an office so that we could make way for the new stairs. Last December we filled the room back up with debris from the attic, so Monday evening I cleared it all out, dropping the boards straight down into the basement and then piling them for later use. Tuesday evening I pulled up the hardwood floor (which was good enough to come up in sections still attached to the furring) and the subfloor.

Dean sistering joists

Dean sistering joists

Sunday morning Dean returned, bringing his old but compact jigsaw which fit between the floor joists. This allowed me to cut out the joists over the new stairwell and give them to Dean, who put them back up over the old stairwell, sistered to the existing partial joists. Then I put in a new joist down the length of the opening directly above and flush with the beam.

Opening finished

Opening finished

Once again, we’re very grateful to Dean for his assistance! This felt like a big step forward toward getting the stairs in and the first floor framed out. It’s pretty amazing how big the space is. On one hand it feels like a bit of a waste, since we’re losing almost a hundred square feet out of the second floor, but in exchange we’ll get two bedrooms in the attic, so I think it’s a worthwhile trade.

Stair Planning Redux

Almost exactly a year ago I spent some time working out where the stairs would go and how exactly they would be configured. This was because the original design work I did had overlooked some issues that the architect caught, but in so doing he caused a lot of other problems. For example, in the approved drawings we have there’s only 5′ 10″ of headroom on the first floor landing. So I recalculated everything last year and had worked out a plan that was pretty good. I used that plan to position and size the basement stair opening.

However, since then I have leveled the first floor subfloor, which means the height from the first floor to the second is slightly different than it was when I made my calculations. Not only that, but if I plan to level the second floor as well I need to consider its height when it’s done rather than its height now.

Stair Planning

Stair planning with minimum required headroom

Another factor is that I read up on load and span limits for the stair stringers. Since the opening for the basement stairs prevents me from having any intermediate support for the first floor stairs, they need to be able to span the whole distance to the first landing, which is nearly ten feet. That means I need to use 1 ¾” x 14″ thick, 1.55E stringers, which are bigger than I planned. That affects the headroom in the landing going down to the basement. Finally, the rise for each step must be equal and no more than 7¾”. The current rise floor-to-floor  averages about 10’11” (131″). I can’t fit more than 17 steps, so the closest rise match is 7 ¾” for a total rise of 131 ¾”. I guess I’ll just level the second floor to that height.

So, I went back to my model in Sketchup and started re-working the plans. I got a bit frustrated because I was spending a lot of time drawing things out just to figure out it wouldn’t work. I finally realized I need to draw the required headroom and clearance, so I could see how much space I needed.

Second floor stairs

Second floor stairs

Once I did that, it started to come together. It’s a tight fit between the multiple stories, roof slope, and other available space restrictions. There are a couple of things that are less than ideal. In the picture above you can see that the second floor landing will need to be notched so there’s enough headroom coming up from the first floor, but structurally it will be fine. There’s also the roof pitch clipping a triangle of headroom above that landing, and the stringers which are notched onto the edge of the landings rather than completely on top to provide enough space to meet code.

The good news is that I can figure this out on the computer and that it will all meet code requirements and I should be able to get a queen-size mattress up the stairs (and not bonk my head on the underside of the landing). Now I can get my LSL stringers on order and start framing the first floor landing.

Basement Stair Opening

We’re probably not going to have a finished basement for a long time. When we do finish the basement we’re going to lower the basement floor in order to gain some additional headroom. That will be after we finish the first floor, the second floor, and the outside. In short, we probably won’t have stairs going down into the basement for years. However, we do need to frame out the opening for the eventual stairs in order to finish the first floor. This is just one small piece of the massive 3D jigsaw puzzle we’re working on. Framing the opening for the stairs comes before we put down new subfloor comes before we build a stair landing comes before we build new stairs to the second floor.

Original opening

Original opening

My friend Matt B offered to spend a couple days of his week off down from Milwaukee to work on our house, so I wanted to tackle a two-person project and with the beam mostly done it seemed as good a time as any to start framing the first floor. I finished the stair planning so I knew where we were putting things and I picked up the necessary lumber and some joist hangers. The floor is framed with 2x10s that span the width of the house. Four had been cut at some point to make an access door down to the basement that had then been covered over with hardwood floor. The hole wasn’t properly reinforced and the joists were patched with 2x4s to provide a nailing edge for drywall in the basement.

Floorboards removed

Floorboards removed

We removed the 2x4s and cut back the floorboards where we’d be working. Since the new stairs are further back in the house, the cut joists only partially coincided with the joists that needed to be cut for the new opening. To conserve lumber we did a swap, cutting the joists back to the beam and replacing the cut joists with full pieces and vice-versa. We used mending straps to join together the cut joists at the beam.

Mending straps

Mending straps

At the ends of the opening we doubled up the joists, gluing together the 2x10s and putting in two rows of screws every 12″. We had to remove the top courses of brick to expose the 6×8 wood sill on top of the foundation. The joists were notched into the sill, so we had to enlarge the notches to fit the doubled joists. Once the ends were in place we attached joist hangers and dropped in the doubled up joist along the length of the opening. This was glued and screwed the same way as the ends.

Notched rim board

Notched rim board

At this point we ran into trouble with the joist hangers. The existing 2×10 floor joists are rough-sawn, meaning they are much thicker than the “nominal” 2x10s they make today. Joist hangers are designed to accommodate the 1½” modern 2x10s. It turns out they make joist hangers for rough-sawn 2x10s, but I didn’t know that when I first exchanged the hangers for LVL hangers only to discover they were now too tall, then exchanged them back for the original hangers and bent them into shape with a hammer. Oh well, they’re installed and not going anywhere. The new structure is very solid, though I still need to repair the brick between the joists.

Hangers installed

Hangers installed

In order to get everything straight I used a jack post in the basement to push the joists into position before installing the hangers. I’ll still have a lot of shimming to get the subfloor level thanks to the wonky nature of the joists, but everything here is straight. Thanks to Matt B for all his assistance!