Tag: joists

On the Level

Before we bought our extreme fixer upper, we watched a lot of Holmes on Homes. In addition to an irrational fear of hiring contractors, the show also instilled the importance of building level, plumb, and true. When you’re renovating an old house that’s something of an uphill battle, and at times it’s downright impossible. However, we’re planning on in-floor radiant heat, which uses plywood and aluminum panels that lie on top of the subfloor and has channels for PEX tubing. The subfloor needed to be level and flat, and the existing plank floor was not going to cut it.

Wet wall subfloor

Wet wall subfloor

The first new subfloor was done when I reframed the wet wall back in September. At the time I decided that “level” was where the joists rested on the steel beam at the center of the house, since I knew the beam was level. The joists sloped slightly higher toward the South wall, so I used a planer to shave them down to be level and put the new subfloor down. I call this planing method of leveling “Method One”.

Shimming over subfloor

Shimming over subfloor

When I started work on the back section of subfloor, I realized that the wet wall was the exception rather than the rule when it came to joist height at the South wall. Most joists were ¾” higher at the outside wall than the beam, making Method One a bad option. Not only would planing that much off be a time consuming pain, I didn’t like removing that much wood from the joists. I decided instead to establish a new level, on top of the small section of subfloor I’d already done. Instead of planing down, I cut and glued down long shims that tapered from nothing to ¾” (depending on the particular joist) over the course of ten feet. This is “Method Two”. It is also a pain in the ass, but slightly less so. There were a few variations of this while we tried to work out the best way to do it.

Jacking up joists

Jacking up joists

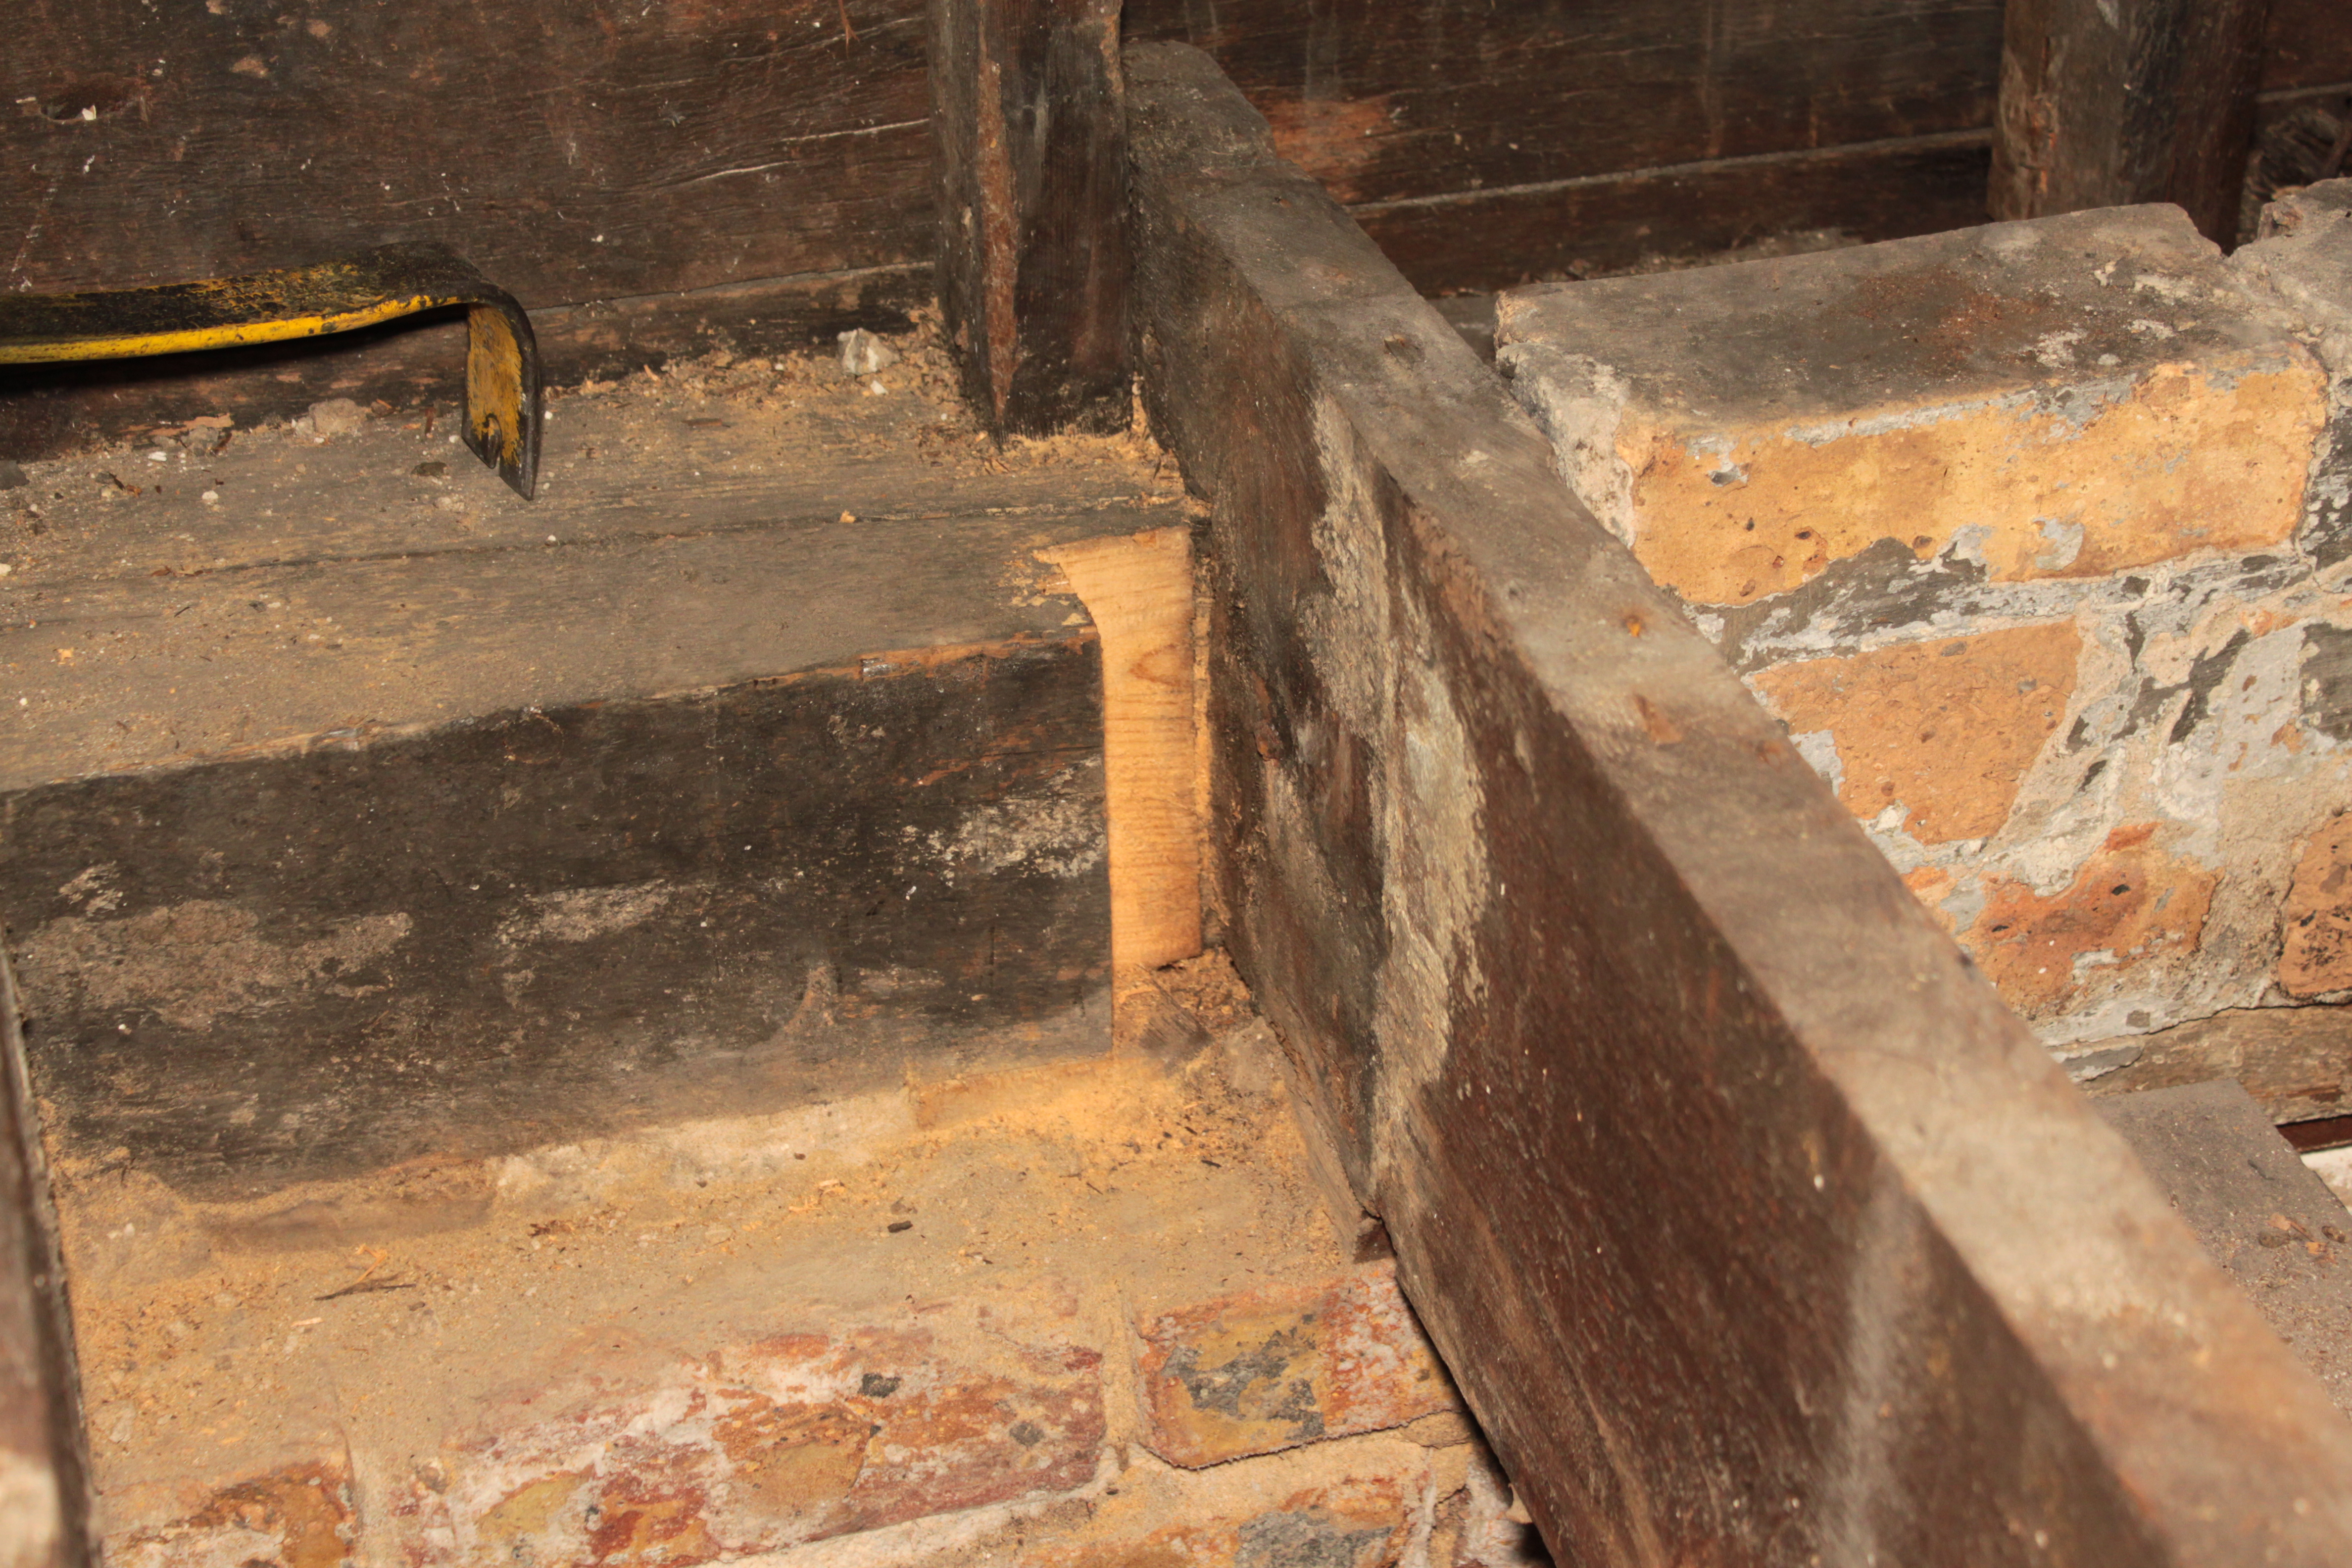
With the back section leveled, but time consumingly so, I wanted to find a faster way to do it. Since the ¾” slope was fairly consistent, I next tried jacking up each joist at the beam and/or the outside wall and putting a shim underneath it, using my trusty hydraulic jack. This is “Method Three” and so far the most straightforward, if still time consuming. In some cases this was all I needed to do, while in others there was still a bow in the center of the spans that I fixed with a long shim, ala Method Two.

I did consider some other methods, such as sistering another joist to the first one. Some people have even used just a 2×4 rather than a full height piece. I didn’t do that partly because I didn’t want to rip out and replace all of the cross bracing between the joists, plus I don’t like the idea of the weight being carried off center of the joist. I want the floor to be as quiet as possible, which is why all the shims and subfloor are being glued down in addition to screws.

Shimming under the joist

Shimming under the joist

I still have a ways to go before the subfloor is done. I’m doing the leveling and the subfloor installation concurrently because we need a way to walk through the first floor, plus a place to put all of our tools. I’ll be working on it in the evening this week as well as this coming weekend. I’m hopeful I can finish by Sunday, but we’ll see.

Wet Wall Demo

Keeping in mind our current focus of having heat this winter, we need to re-frame the wet wall so that Lester, our radiant heating installer, can run the radiant plumbing up to the second floor, where we’ll be installing two new radiators. That means we have to take the old wall out.

Wet wall before

Wet wall before

The first step in this process was to remove the old toilet flange where the original bathroom was and replace the rotted floor joist. In the process I realized that the 6″ x 8″ rim joist along the outside wall below where the bathtub had been was completely rotted as well. Fortunately I saved the old center beam and columns from the basement, which are the same size, so I can cut a replacement piece to fit.

Toilet flange and rotted joist

Toilet flange and rotted joist

After trying a rented snap cutter, I wound up using carbide blades on a reciprocating saw to cut off the old cast iron drain and cap it. I also used the reciprocating saw to cut off the unused vent pipe. At some point over the years the original (correct) drain venting had been disconnected in favor of just wet-venting through the soil stack. This is less of a problem now that we’ve gotten rid of the first floor connections. We’ll come back and replace all the above-ground cast iron with PVC and put in proper venting at the same time.

Wet wall removed

Wet wall removed

I cut back the floor boards so I could get the rotted joist out and then took out the remaining studs, which by this point were hanging from the ceiling. At this point the only semblance of a wet wall was the two drain pipes, the two supply plumbing pipes, and the gas line. I need to cut back the subfloor a bit more to fit in the new OSB.

I spent some time planning out the wet wall, including where plumbing would go. The challenge is toilet drains, since I don’t want to notch joists. I realized that when we do the second floor I’ll need to replace two of the joists with engineered I-Joists so that we can cut 4″ holes in them. I also need to put in some 16″ O.C. blocking to support the wet wall, since it doesn’t line up with an existing joist. Instead it lines up with the PSL column we put in, which sits between two joists.

The plan is to get this done this weekend. I’ll pick up the lumber tonight and hopefully get the subfloor done tomorrow and the wall framing done on Sunday.

Basement Stair Opening

We’re probably not going to have a finished basement for a long time. When we do finish the basement we’re going to lower the basement floor in order to gain some additional headroom. That will be after we finish the first floor, the second floor, and the outside. In short, we probably won’t have stairs going down into the basement for years. However, we do need to frame out the opening for the eventual stairs in order to finish the first floor. This is just one small piece of the massive 3D jigsaw puzzle we’re working on. Framing the opening for the stairs comes before we put down new subfloor comes before we build a stair landing comes before we build new stairs to the second floor.

Original opening

Original opening

My friend Matt B offered to spend a couple days of his week off down from Milwaukee to work on our house, so I wanted to tackle a two-person project and with the beam mostly done it seemed as good a time as any to start framing the first floor. I finished the stair planning so I knew where we were putting things and I picked up the necessary lumber and some joist hangers. The floor is framed with 2x10s that span the width of the house. Four had been cut at some point to make an access door down to the basement that had then been covered over with hardwood floor. The hole wasn’t properly reinforced and the joists were patched with 2x4s to provide a nailing edge for drywall in the basement.

Floorboards removed

Floorboards removed

We removed the 2x4s and cut back the floorboards where we’d be working. Since the new stairs are further back in the house, the cut joists only partially coincided with the joists that needed to be cut for the new opening. To conserve lumber we did a swap, cutting the joists back to the beam and replacing the cut joists with full pieces and vice-versa. We used mending straps to join together the cut joists at the beam.

Mending straps

Mending straps

At the ends of the opening we doubled up the joists, gluing together the 2x10s and putting in two rows of screws every 12″. We had to remove the top courses of brick to expose the 6×8 wood sill on top of the foundation. The joists were notched into the sill, so we had to enlarge the notches to fit the doubled joists. Once the ends were in place we attached joist hangers and dropped in the doubled up joist along the length of the opening. This was glued and screwed the same way as the ends.

Notched rim board

Notched rim board

At this point we ran into trouble with the joist hangers. The existing 2×10 floor joists are rough-sawn, meaning they are much thicker than the “nominal” 2x10s they make today. Joist hangers are designed to accommodate the 1½” modern 2x10s. It turns out they make joist hangers for rough-sawn 2x10s, but I didn’t know that when I first exchanged the hangers for LVL hangers only to discover they were now too tall, then exchanged them back for the original hangers and bent them into shape with a hammer. Oh well, they’re installed and not going anywhere. The new structure is very solid, though I still need to repair the brick between the joists.

Hangers installed

Hangers installed

In order to get everything straight I used a jack post in the basement to push the joists into position before installing the hangers. I’ll still have a lot of shimming to get the subfloor level thanks to the wonky nature of the joists, but everything here is straight. Thanks to Matt B for all his assistance!