Category: Basement Mechanical

Replacing the boiler, hot water heater, supply plumbing, and installing a whole-house water filter

Basement Rough-in

It’s been a long time coming (like most things in this project) but we’ve passed our rough plumbing inspection for the basement! We passed our electrical inspection a month and a half ago, but we’ve grown used to the plumbing going slowly. This phase of the project was frustrating because we couldn’t do much ourselves to speed the process along, and we kept running into issues. Fortunately, all of them have been resolved.

Bathroom rough-in

Bathroom rough-in

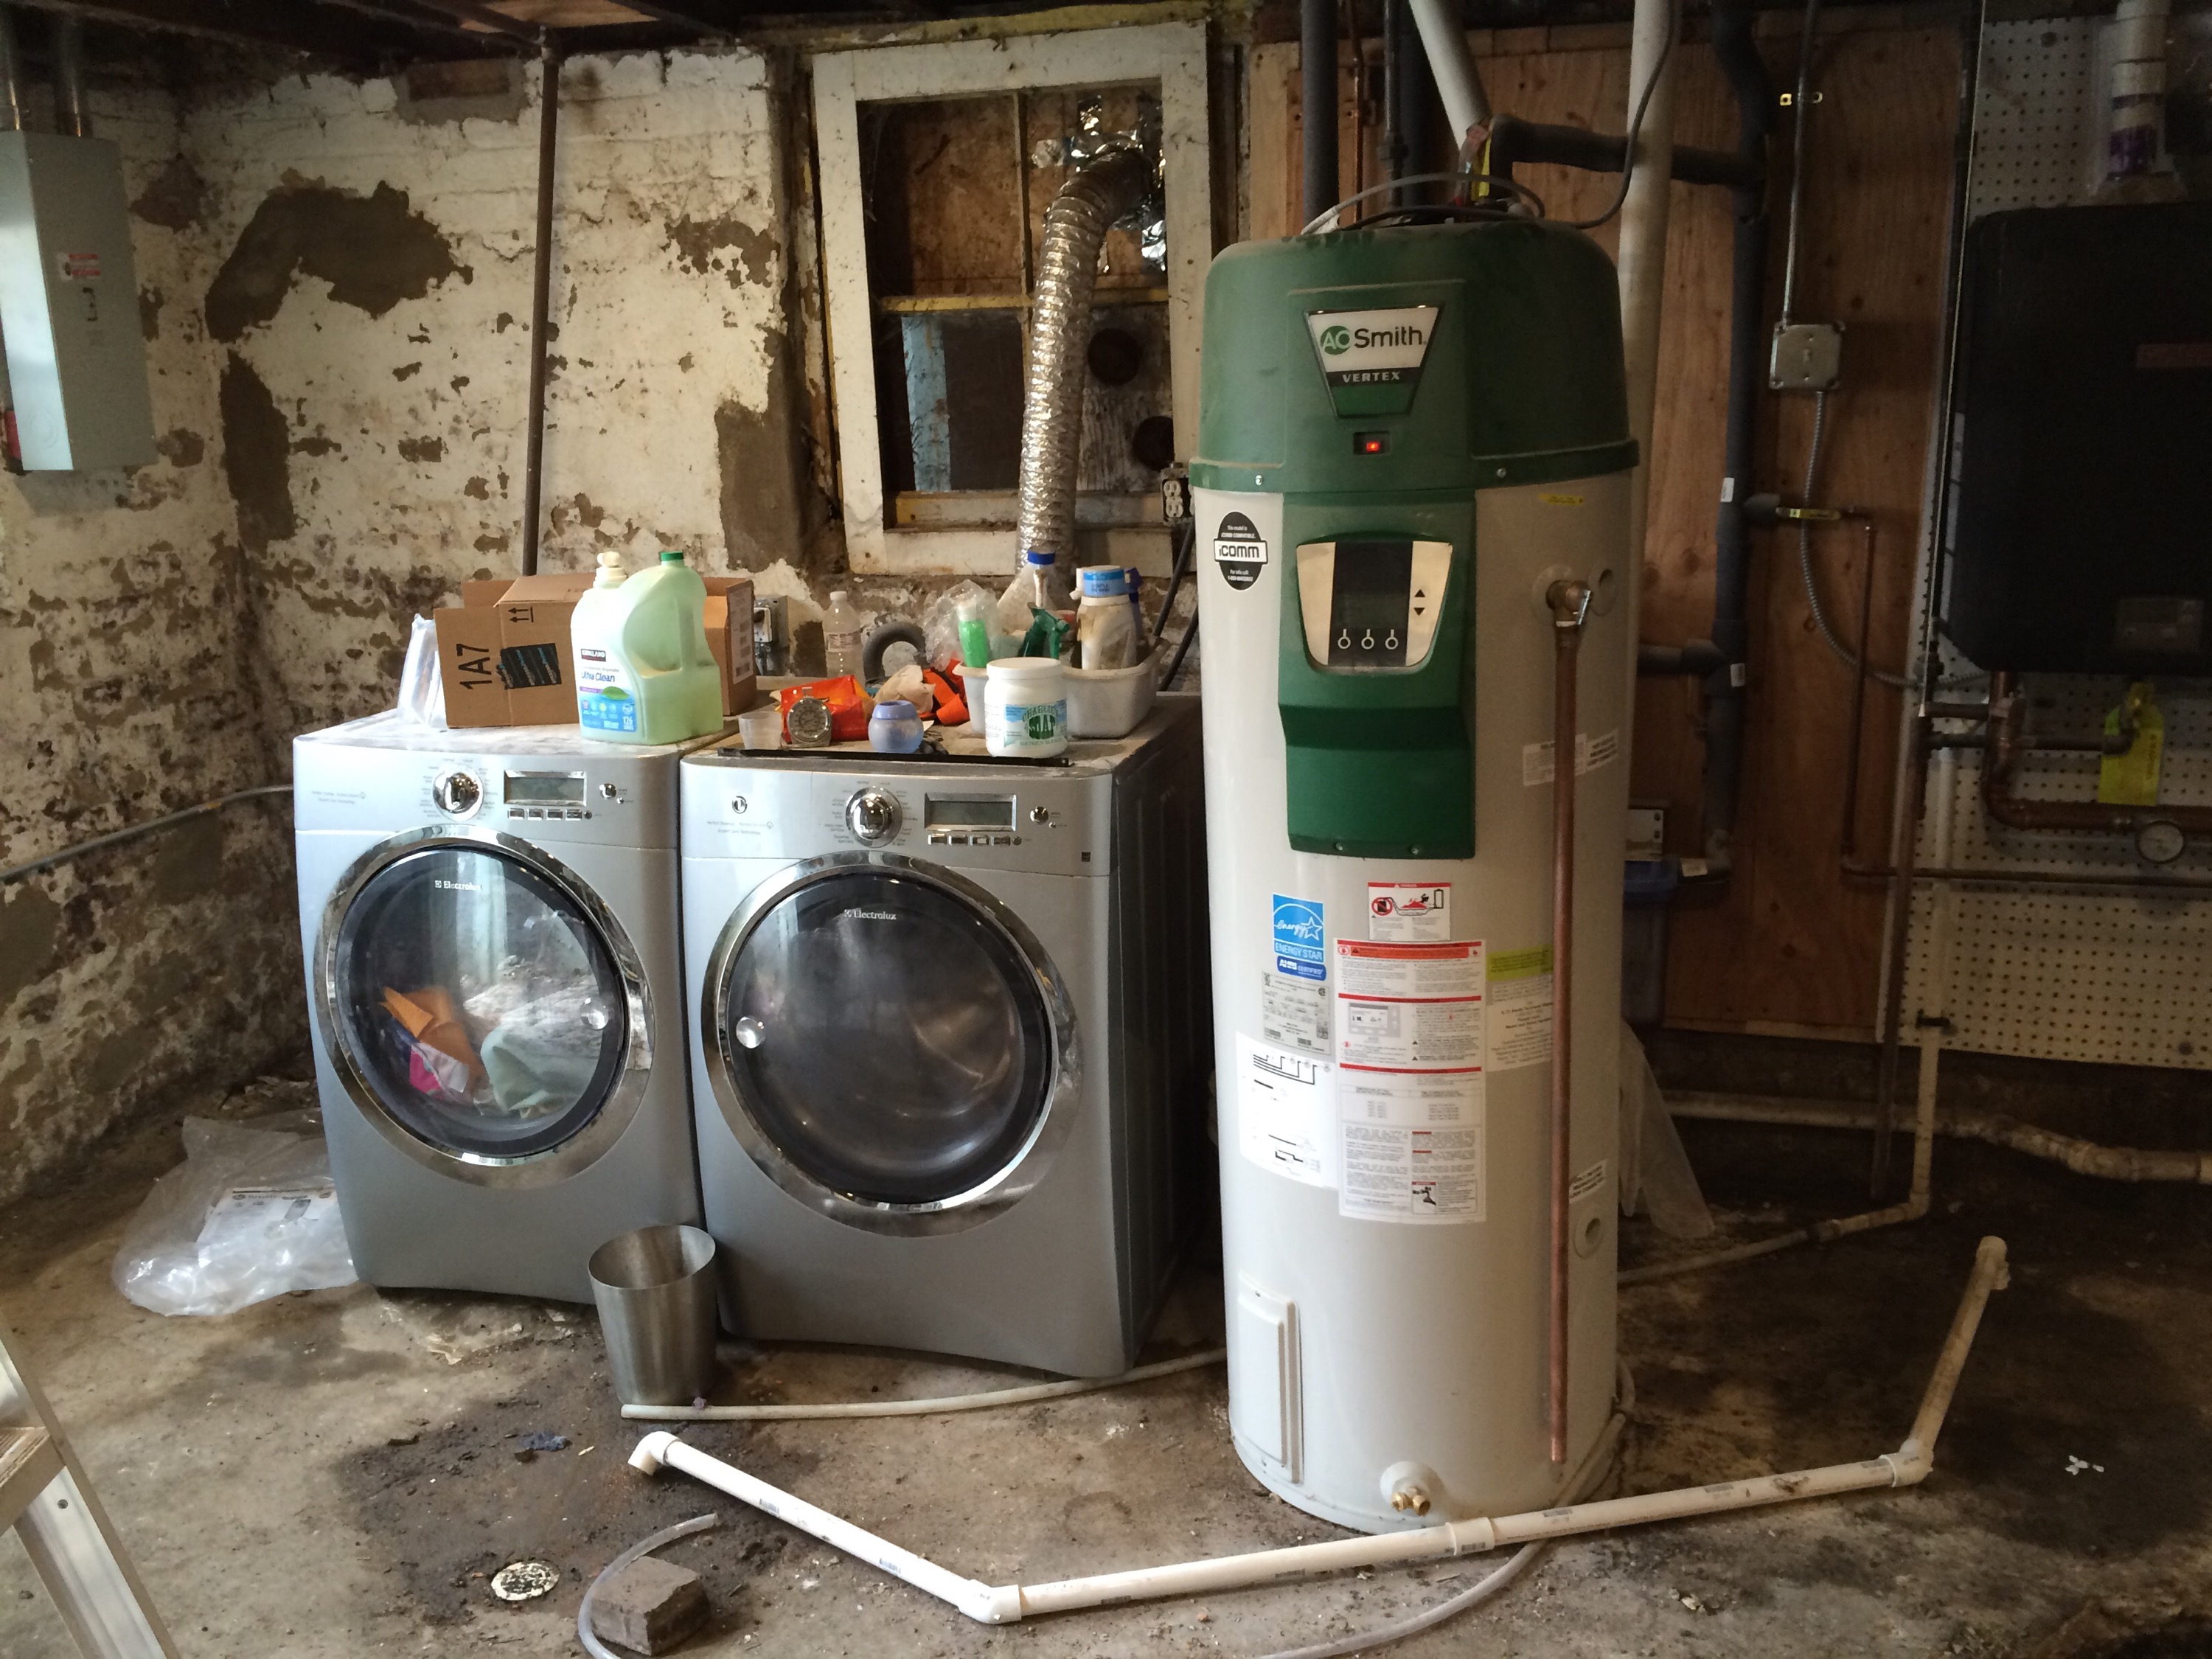
Our new water service is a 1½” copper line, whereas our old service was only ¾”. Because of that, when we installed our whole-house water filter a few years back, we ran ¾” pipe. The plumbers took out a lot of that line when they brought in the new service and started adding branches for the bathroom, including the connections for the water heater ( temporarily on the first floor) running mostly in 1″ before and after the filter. On top of that, when I went to hook the filter back up, I realized that the new curb in the basement was preventing the filter from sitting close enough to the wall to connect to the existing pipes, meaning I was going to have to reconfigure it anyway. I bought new, bigger, 1″ filter housings and asked the plumbers to re-plumb the remaining section so that everything would be 1″ (and to add back the water heater hookup while they were at it).

Filter re-installed

Filter re-installed

The plumbers seemed vexed by the filter setup and I had to have them come back and change it multiple times until it was correct. This added weeks to the process all by itself, on top of the generally slow work they’d been doing. Then they asked for their money, so I asked when it was going to get inspected. That took another couple of weeks to get the inspector out, but they finally wrapped up Thursday of last week.

The electrical work went quickly because a lot of it was already done last year, but there were a couple of additions and modifications. We had to redo the grounding strap because the water service moved to the front of the house, add outlets for the sump pump and ejector pit, and add the switches, lights, and outlets for the bathroom and other new interior walls. We still need Lester, our radiant contractor, to come back and connect the PEX lines in the slab and disconnect our radiators on the second floor, but that shouldn’t impact the rest of the work we’re doing.

We were gone all weekend, but now I’m finally back to work, with a new goal of getting us moved into the basement by August 20th, the fifth anniversary of us moving into the second floor. I think if we’re still living in the second floor more than five years into our “five-year project”, I’ll have to start considering arson. There’s a lot to do, starting with the venting for the bath fan, leveling the bathroom ceiling, and a few other minor tasks. That will be followed by drywall and tiling, the temporary walls, and the bathroom fixtures.

Sump Pump

I installed the interior weeping system back in late October after the plumbers said it needed to be finished for them to continue (Ha!). That’s also when I put in the sump pit (aka crock, aka basin) and I researched and ordered the actual sump pump, but it didn’t get hooked up until yesterday when the plumbers connected the drain line. I used a ton of zip ties to get all the cables neat and tidy.

One of our big concerns has been water in the basement. The biggest reason is we’re planning to move into the basement for the next year or two and water would be a pretty big problem, but even if that weren’t the case the basement will be part of our finished space and flooding could be a huge expense. We know multiple people with similar houses that have experienced basement flooding for several reasons, so we’re taking the steps we can to prevent that from happening to us.

Unfortunately, the biggest factor in basement flooding is something we haven’t tackled yet, namely gutters that direct rain water away from the house. Because our second floor has a bump out that we’re planning to remove, we haven’t redone our roof and gutters yet. Because we’re a long way from landscaping, we haven’t taken up the sidewalk along the side of the house and put in a drainage system and a rain garden. Because we haven’t put in new windows on the second floor, we haven’t re-sided the house to prevent water from getting into the brick foundation walls. So, there’s a lot to do. In the mean time we’ll be relying on the sump pump to keep the water out of the basement. The good news is that despite a fairly rainy Spring and the sump pump not being connected until yesterday, the floor has been dry. The bad news is we’ve had a dehumidifier running non-stop for weeks and the basement still has 90% relative humidity.

StormPro System

I read a lot about sump pumps and I weighed a lot of pros and cons, reviews, opinions, brands, and specs, and I settled on an Ion Genesis StormPro sump pump system, all pre-plumbed so it just dropped in. This system uses a smart controller, two separate ⅓ HP pumps, and two separate digital water level sensors to keep everything working smoothly. The controller alternates between the pumps to prevent one from sitting idle for too long, or uses both if one can’t keep up.  The water levels sensors are extremely accurate and reliable, with no moving parts and complete redundancy. There’s a high level alarm and we can connect the controller to our alarm system to notify us remotely if there’s a problem. The only important feature it doesn’t have is battery backup. The reason for that omission is we’re planning to install solar panels on the roof along with a Tesla Powerwall battery backup for the whole house. The sump pump will (eventually) rely on this as well. Our power has been pretty reliable, so we’re not worried about not having the backup in the short term. Of course, since I ordered, the “Genesis” controller has been upgraded to the “Endeavor” controller (pictured above) for the same price, which adds some additional functionality.

Sump Pump Installed

Sump pump controller installed on boiler panel

For the time being, the sump is draining into the sewer and out to the City. Chicago allows this (for some reason) so we’re taking advantage of it, since we don’t have the aforementioned rain garden and drainage system outside. We intend to divert the sump pump to that once it’s in place, both because it’s the right thing to do (it doesn’t make sense to mix storm water with sewage), and because we’ve heard of backups in the sewer system (because of all the storm water) that mean there’s no where for the water to go.

Control Panel

Control Panel

When I turned on the sump pump, the pit was pretty full. The alarm sounded and the display told me there was high water. After testing both pumps, it quickly drained the basin and it’s been running only occasionally since then. The display shows the amperage draw of the pump (helpful if there’s blockage or other motor problem) as well as the water level in the basin down to a fraction of an inch. The controller lets you set the water fill level in half inch increments. We have a large 30″ basin, so I set it for 8″. The plumber informed me that the city inspectors have been requiring the sump pit to be proud of the floor by a couple of inches, something I didn’t know when I installed it level with the top of the slab. Hopefully they don’t have a problem with it. Given where the holes in the sides of the basin were and the slope that I had to put on the drain pipes, I couldn’t have put it any higher than I did anyway.

Back Basement Steps Drain

Mario, our concrete mason, is planning to form and pour the steps and landing outside the back basement door soon. One important feature of the landing is a drain for rain and snow. I’m a bit paranoid about flooding in the basement. I’ve known too many people get water in their basement and cause thousands of dollars of damage to half-ass the drainage when we have the opportunity to do it the right way now. The good news is that even without any weeping system, the old basement never flooded, despite some heavy rainfall. The bad news is that was before we dug it down by a foot, and we’ve definitely had water at that level, though mostly due to bad gutters. I have extensive plans for storm water management with our house, but most of them haven’t been implemented yet.

Catch basin drain

Catch basin drain

Two of the people I know that have had flooded basements live in houses very similar to ours, with a basement door to the outside and steps up to grade. In both cases, water coming in from the back door was a major cause of the flooding, so I want to be extra careful with ours. First, the landing outside the back door is going to be a couple inches lower than the basement floor. Second, I’m using a 6″ catch basin style drain that ties directly to our interior weeping system. The advantage of this style drain is that any debris that gets past the grate settles to the bottom of the drain rather than going down the pipe and causing clogs or problems with the sump pump. Using a 6″ drain means that it will be more difficult for leaves and other debris to clog the grate. Third, rather than center the drain in the landing I put it towards the retaining wall, so that when Mario pours the landing it will slope away from the house. Doing that math on square footage of the stairs and landing, this system will easily handle the 3″ per hour 100-year storm water rate for Chicago as long as the drain doesn’t get completely clogged, and this drain should resist clogging.

Area drain installed

Area drain installed (looking out from basement)

The installation itself was pretty straightforward. We dug out the landing a bit and took out the old concrete threshold at the footing level of the basement door so we could run a trench to the weeping system. A bit of pipe, some stone, and the drain itself went in with a bit of test fitting and trench re-grading.

Ready for stairs and landing

Ready for stairs and landing

Mario came out and put in more stone to prep the area for the steps and the landing. We got some snow over the weekend and a holiday coming up, but hopefully we can get them formed and poured soon.

Interior Weeping System

Starting the trench

Starting the trench

After we got the basement dug out, we were planning to have the weeping system put in by our plumbers, but the plumbing quotes were all so high that we had decided to do the weeping system ourselves to save money. I started with some Internet research, followed by a perusal of Chicago Building Code. I also watched an episode of Mike Holmes putting in an interior weeper. Finally, I spoke to the plumbers to see how they typically do it.

Slow progress

Slow progress

I recalled my architect telling me that the weeping trench had to be twice as far from the footing as it was deep to prevent undermining the footing (since we’d dug to the bottom of the footing). Since we’re using 4″ drain tile pipe, the minimum trench size is 6″, so it’s set 1′ in from the footings. The plumbers said they typically dig the trench a foot wide, but I was at a shortage of places to dump the dirt and I didn’t want to dig more than I had to. Plus, I didn’t see much of an advantage to making the trench wider. I initially started digging the trench an even 6″ deep, but I realized that the pipe needed to slope toward the sump crock by ⅛” per feet, also known as 1″ per 8′. I started with the depth of the sump crock openings and worked backward. The result put the top of the pipe proud of the trench in places, but still within the stone that goes under the concrete and foam insulation.

I bought a big 36″ deep by 24″ wide sump crock, rigid PVC drain tile pipe, a bunch of assorted fittings, and a pipe filter sock. The plumber suggested I account for the front bay window with some 45° fittings, but because of how sharp our bay is compared to most, I wound up using street 45s plus 22.5s for “67.5” degree turns. In my previous post on the mechanical room layout, I alluded to the challenges of figuring out where the sump basin would fit without interfering with pipes for the ejector pit, the sewer line, the pex tubing that will eventually come out of the floor by the radiant system, and without the outlet pipes being in the way of the boiler. I settled on an area along the wall that’s in front of the radiant panel, but not where the pex will come out of the floor.

Finished install

Finished install

One of the advantages of rigid PVC drain tile over the corrugated stuff is you can snake it if it ever gets clogged, so I added a clean-out at the far end of the run, as well as a connection for the drain in the back steps landing. The hardest part was digging the trench and sump pit and hauling out the dirt. Once I had started putting the pieces into place, assembly went quickly. The last step in the process is our sump pump, but I still have to plug it in, so I’ll cover that in another post.

Plumbing Move

There are a few drawbacks to living in a house while you remodel it. It takes longer, it’s more complicated, and you often have to spend time on temporary solutions to keep things operational. In this case, the water heater and laundry in the basement needed to be moved up to the first floor so the basement dig out can continue.

Basement water heater and laundry

Basement water heater and laundry

We installed the water heater back in August of 2013. At the time we were getting everything disconnected from the chimney so we could redo the subfloor on the first floor. When we decided to do things the right way and do the basement first, we had to reshuffle things. We considered disconnecting everything and moving out for a few months, but instead we just moved the water heater to the first floor temporarily and rerouted the plumbing. I even managed to hook up the laundry, so we don’t have to go to the laundromat for the next several months.

Relocated to first floor

Relocated to first floor

Getting gas, electric, water, and venting run was a task, but I simplified it by using PEX tubing and quick connect fittings for the plumbing. PEX isn’t code in Chicago, but this isn’t permanent so I’m not too worried about it. Once the new basement floor is done we can move it all back into the basement. I took off a few days from work this week and got everything set up on the first floor for about $150 in materials. The whole house water filter had to get disconnected, but because of how we plumbed it we were able to just bypass it with a few valve turns.

The next step was to fix the drainage. The long-gone basement bathroom had been badly spliced in where the cast iron stack connected to the vitrified clay sewer line. I repaired that connection with a section of PVC and a rubber gasket. I had to cut out the cast iron and the broken clay. I did both with a diamond grit reciprocating saw bit. Don’t waste your time on the carbide bit. That thing is crap, just spend the extra few dollars. Once that connection was made, I redirected the drain from the kitchen (and laundry) into the main sewer instead of the collapsed line that goes to the catch basin and backs up all the time. When we replace the underground sewer line this will get changed again, but for the time being we don’t have water all over the floor and noxious sewer gas leaking in the basement, which is nice.

Everything removed

Everything relocated

Finally, with everything moved and rerouted, I took up the last section of concrete floor.

Concrete removed

Concrete removed

Now we can finish the dig out! We have nine days left with the mini-excavator before our month is up and we have to return it, so we’ve got to press on and get this thing done! It’s looking like one more dumpster after this one should finish things up, or roughly 2 concrete dumpsters and 4 dirt dumpsters total (plus the 2 debris dumpsters from the garage and back porch demo). It’s been a busy Spring.