Year: 2014

Risers and Treads

Grooved riser (with glue)

Grooved riser (with glue)

It’s time for something more positive. This part of the stair project went extremely well. In fact, the only thing I had a problem with was the glue getting everywhere, including on my screw gun. The plan is to eventually clad the OSB risers and treads with hardwood, so there the OSB tread has no nose and it didn’t need to be as thick as a typical tread. Maybe I could have overbuilt it, but I already had a lot of leftover ¾” OSB from the subfloor so I used that. I didn’t want the treads to deflect, or flex at the back when you step on them, so I decided to cut a groove in the risers and a tongue on the treads so they’d lock together. I contemplated using the router, but instead I picked up a dado blade set for the table saw, which is awesome.

Riser and tread interlock

Riser and tread interlock

I first cut all of my treads and risers to width on the table saw with the regular blade, then cut them to length on the miter saw. Then I swapped in the dado blade and cut a ⅜” deep groove in the risers, ⅜” from the bottom edge. Next I cut out the bottom ⅜” of the edge of the treads, again ⅜” wide. The two pieces fit together like a glove. I wasn’t quite done though. I also cut out the bottom ¼” of the treads, ¾” wide, and cut all of my risers ¼” tall. As a result, both the front and the back of the tread locked into place.

Treads and risers installed

Treads and risers installed

With my careful stringer work completed, gluing and screwing down the risers and treads was a fairly quick job. Every once in a while, something goes to plan, and I’m pretty freaking happy about it. Next step is the landing floor.

Stair Stringer Struggles

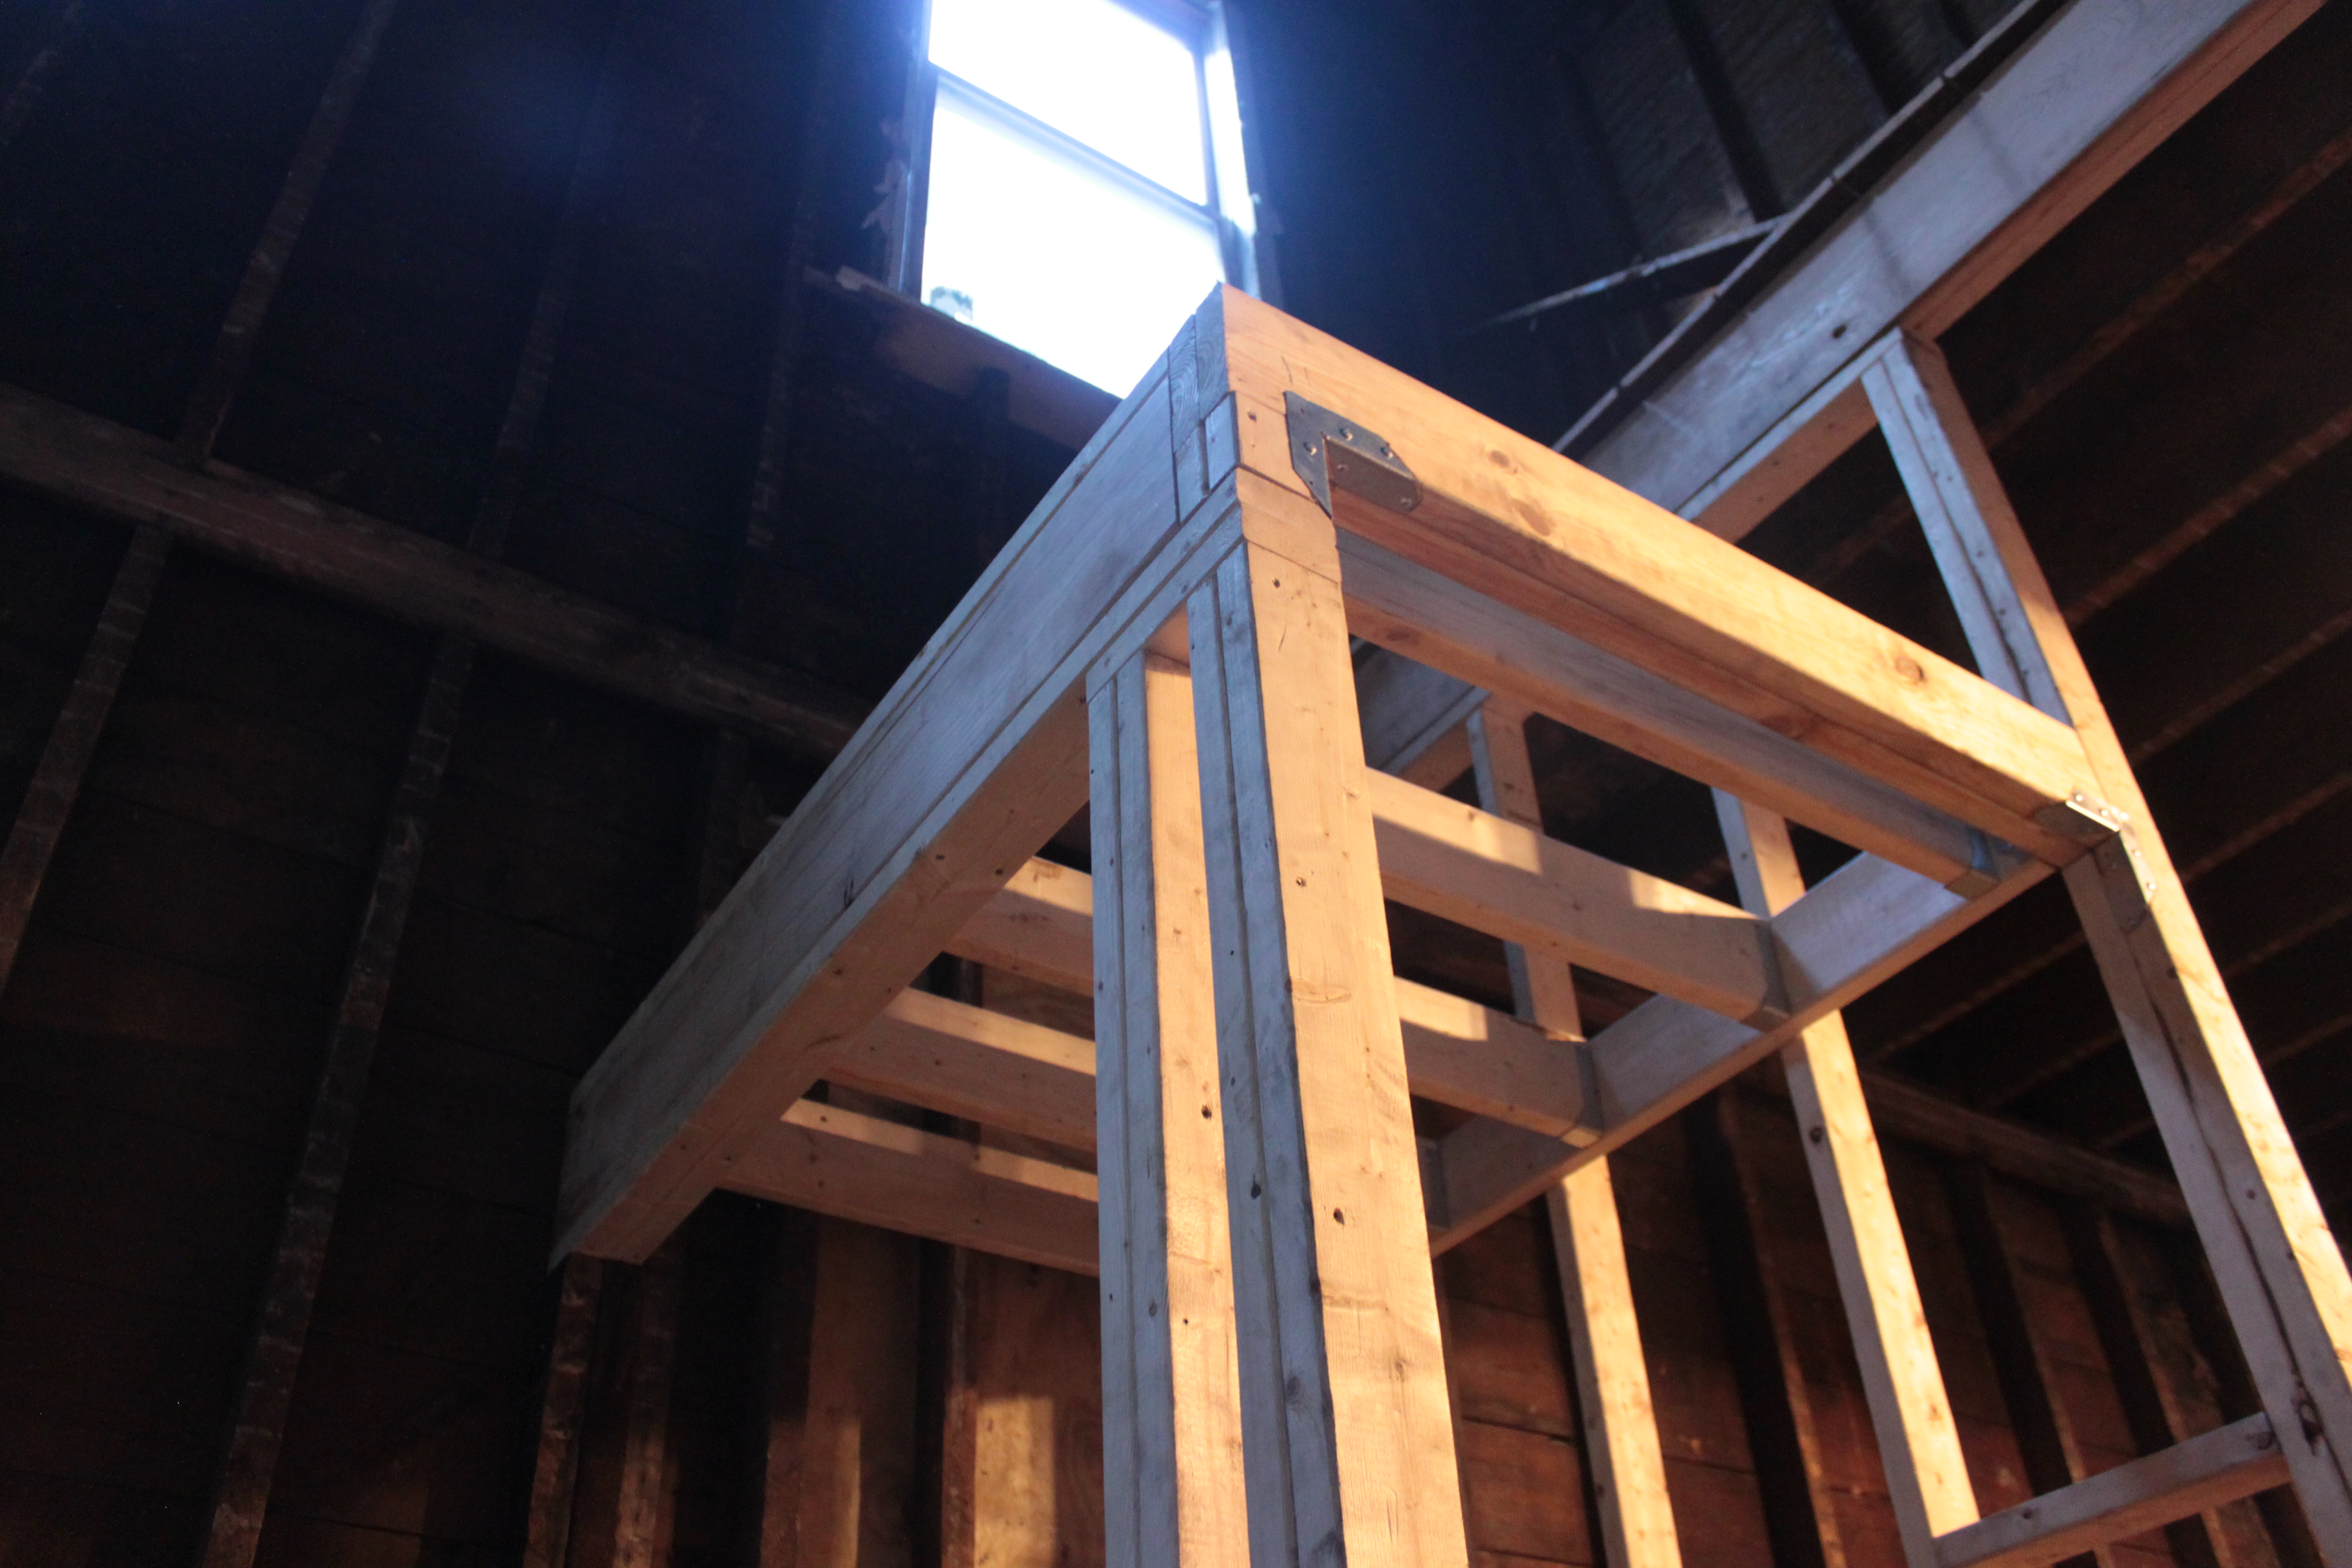
Our stair stringers were delivered and I set to work building the first run up to the landing. We’re using 14″ LSL stringers up to the landing because it has to span ten feet above the basement stairs. The stairs will be 42″ wide so there are three stringers, all notch cut. I considered doing an enclosed stringer, but I wanted the treads exposed on the side so we can have a wooden railing with iron balisters, plus the center stringer has to be notch cut anyway, so for consistency I notched all three. I also reinforced with a 2×4 glued and screwed to each one, per manufacturer recommendations.

Stringers installed

Stringers installed


I used stair gauges on a carpenters square to mark the cuts. All of my cuts were exactly accurate the first time, the stringers fit in place precisely the way they were supposed to, and they were perfectly level and aligned with one another. The only reason it took me three weeks is because I was admiring how flawless it all was. Eh heh, heh, ugh. No. As I continue to discover, I am not a very good carpenter. I made systemic mistakes, had flaws in my original plan, and spent most of the last few weeks trimming and shimming until the stringers approached a semblance of what I originally had in mind.

Let me run down the, uh, opportunities for improvement I encountered. Firstly, my original model had a flaw that in retrospect to everything else wound up being fairly minor. I made several important measurements that accidentally included the thickness of the risers and treads. In the end I had to make some field adjustments. I also had to slope the back of one of the stringers because the landing is slightly crooked at one end. I almost managed to cut one of the stringers nearly two feet shorter than the others, but fortunately realized my mistake before I had caused catastrophic damage.

The more major issue I didn’t actually figure out until I had been scratching my head at the stringers for a week, trying to figure out why the backs of each step weren’t in line. It turned out I had made the same mistake I’ve now made on multiple other occasions, which is forgetting that the house is totally wonky. The opening to the basement stairs is bordered by a doubled floor joist on one end. I used that edge as the basis for building the landing, and the landing as the basis for the stairs. As it turns out, that floor joist is not quite perpendicular to the outside wall, something I should have realized after all my subfloor frustrations.

Shim shimmery

Shim shimmery

As a result, the landing is not square (like, at all). I have built yet another parallelogram. When I carefully and exactly laid out the stairs to the landing so that the stringers fit, they were skewed to one another. I wound up cutting two of the stringers a bit shorter to compensate, barely fitting them against the landing without sticking down (one may be protruding by a sixteenth, but it’s close enough).

Even after that correction I wound up going back and forth, trimming and shimming an eighth here and there until my levels and measurements started to coalesce around the goal. I’m pretty sure upwards of eighty percent of the edges have had some form of adjustment. As it stands I still have a couple of steps that need some tweaking before they’re acceptable. It’s been a bit of a slog, to the point that I’ve re-written this post multiple times over the last few weeks as the situation evolved. The good news is that I didn’t ruin my expensive engineered lumber, the stairs will be as close to perfect as I know how to make them, and hopefully I’ve learned enough lessons that the remaining stair framing will go more smoothly.

Kitchen Wall Framing

I had a couple of projects to work on while we waited for the stringers to be delivered. Among them was the back kitchen wall. The back left of the kitchen has a doorway to the den, flanked on one side by the refrigerator and on the other by the coat closet and pantry. We had planned for a full framed coat closet with pantry cabinet next to it, however the redesign of the stairs made that space a bit smaller, so instead we’ll do a row of full height cabinets that we can use for both pantry and coats.

Level blocking, un-level ceiling joists

Level blocking, un-level ceiling joists

This wall is in-line with the support column, and as a result it’s between two floor joists, so the first step was to install blocking in the floor and ceiling joists. In the basement this went fairly smoothly, though I had to move two of them because they were under the doorway, which was rather useless. Fortunately I used screws, so it wasn’t too difficult to correct. The ceiling was a bit more complex because the ceiling isn’t straight, so I installed the blocking level, each one protruding below the floor joists a bit more toward the outside wall. When we drywall the ceiling we will be furring it level, so this shouldn’t be a problem. I screwed down the sill plate and top plate (both of which we double up).

Framed and ready to fit

Framed and ready to fit

I noticed that the outside wall wasn’t plumb to the tune of about ¾”, so I allowed for this by adding some extra depth so the cabinets would still fit flush. Unfortunately I also added this extra depth at the top, so when I framed the wall and put it into place, the studs weren’t plumb. Since we’ll have a refrigerator on one side and cabinet on the other, both sides need to be plumb. Since I’d put the header above the doorway in with all the nails, the easiest way to correct this was to shim the studs on either side.

The shims look pretty silly and of course they all split, but they do keep it secure and the bubble on the level is between the lines everywhere that counts. This wall isn’t load bearing or anything, so not having the jack stud fully sistered on one side won’t cause any issues. I think (hope?) by the time I finish this project I’ll actually know how to do it right the first time. Did I mention I messed up my stud measurements and built the wall 3″ too tall? I had to cut them all back and put the sill plate back on. Sigh.

Finished wall

Finished wall

I remembered to put the 2×6 nailing edge on the back of the wall stud. Having neglected that in some other cases and needing to fit pieces in after the fact, I’m getting better at that at least. There’s only one other small wall in the kitchen to frame. The other framing of the office and bathroom needs to wait until we put in the back sliding door. The stringers arrived yesterday, so the next project is to cut and fit them!

Stair Landing

It’s been a long time since I’ve updated, and I can’t say that we’ve gotten a lot done in the meantime. Between the new baby, Sarah having hernia surgery and accompanying recovery, and a break in momentum I’ve struggled to regain, we just haven’t gotten much done. The sense of stagnation is worsened by the flurry of work going on next door. In the last two months they’ve torn down the garage, dug down the basement and poured a new floor, re-shingled the roof, installed steel beams in the basement and first floors, new front and back porches, and completely framed the interior! We’re comforting ourselves by noting the things they did poorly, but it’s still tough when we’re not making much progress.

The focus at the moment remains the first floor stairs, specifically the landing. I spent a lot of time over the last few weeks staring into space on the first floor and then checking back to the revised plans. It’s one thing to have dimensions figured out and another to actually put hammer to nail, or impact driver to screw, as the case may be.

First floor landing

First floor landing

I started by building the corner support column, but the studs were depressingly wonky despite clamps and effort, so I took it apart and re-did it better. The parts that I struggled with the most were the points where the cross members met. I want everything to be supported well since it will be bearing the weight of the stairs, but that meant some complex corner joints. I wound up buying some brackets and joist hangers to reinforce everything, and the end product is very sturdy.

The stringers are on back order until the end of the month, so I plan to fill the intervening time by completing some of my unfinished projects and by framing out the coat closet and the rest of the wall at the back of the kitchen.

First Floor Stair Opening

My friend Dean came back last Saturday to help me work on the house. We spent some time sorting through my scrap metal pile, getting all the copper, brass, and aluminum separated and pondering what to do with the remaining near-worthless steel and iron. Then we started work on framing the opening for the first floor stairs.

Stair opening

Planned stair opening (not actually green)

The new stairs will be several feet further back in the house to increase the front bedroom size (currently 8′ x 7½’). This means the existing opening between the first and second floor needs to move. In addition, because we’re adding steps to the attic, the opening will change shape, from an L to a rectangle. One advantage of this design is we can put a solar tube in the roof above the stairs and a light well will allow natural light all the way down to the first floor.

Dean putting up the wall

Dean putting up the wall

After adding some blocking from below between the first floor joists to bear the wall, we put down a sill plate board and used the laser level to position a sistered double joist directly above it. Getting the joists into position proved the most difficult part of the process. We were able to frame the wall on the floor and tip it into place. The laser level proved accurate: once it was aligned on the sill and joist, the wall was perfectly plumb.

Sistered joist on opposite side

First sistered joist on opposite side

Sunday I positioned the sistered double joist on the other side of the stair opening. This set the boundaries of what need to be removed and what needs to be filled in. Last year when we demoed the old stairs, we also demoed the middle bedroom we were using as an office so that we could make way for the new stairs. Last December we filled the room back up with debris from the attic, so Monday evening I cleared it all out, dropping the boards straight down into the basement and then piling them for later use. Tuesday evening I pulled up the hardwood floor (which was good enough to come up in sections still attached to the furring) and the subfloor.

Dean sistering joists

Dean sistering joists

Sunday morning Dean returned, bringing his old but compact jigsaw which fit between the floor joists. This allowed me to cut out the joists over the new stairwell and give them to Dean, who put them back up over the old stairwell, sistered to the existing partial joists. Then I put in a new joist down the length of the opening directly above and flush with the beam.

Opening finished

Opening finished

Once again, we’re very grateful to Dean for his assistance! This felt like a big step forward toward getting the stairs in and the first floor framed out. It’s pretty amazing how big the space is. On one hand it feels like a bit of a waste, since we’re losing almost a hundred square feet out of the second floor, but in exchange we’ll get two bedrooms in the attic, so I think it’s a worthwhile trade.