Page 30 of 59

Considering the Right Way

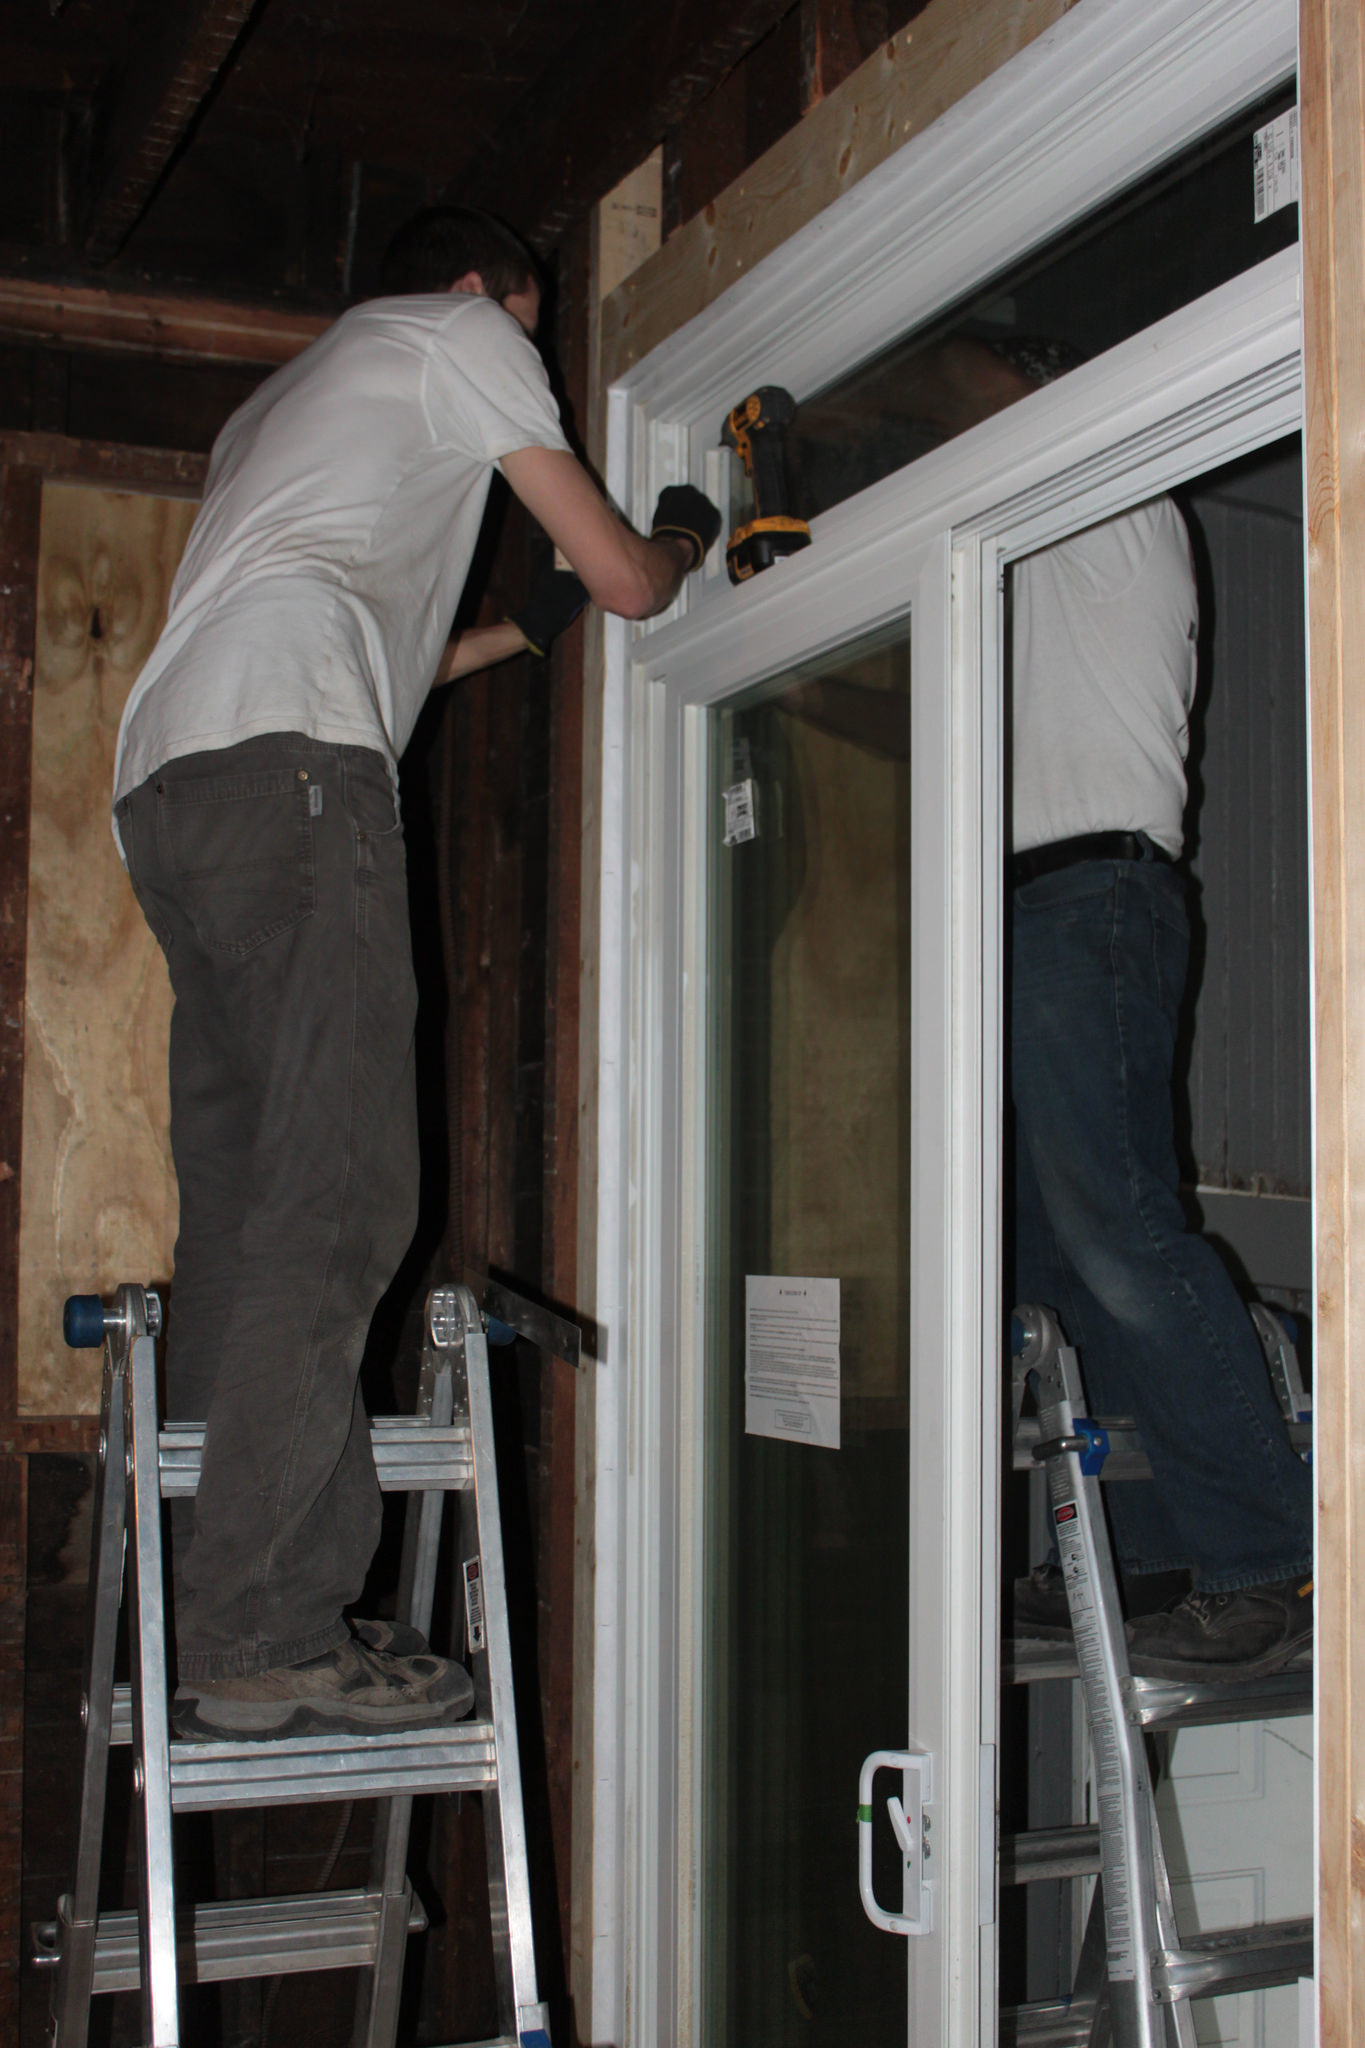
We’re facing a conundrum. We got confirmation from the city that we can pass inspection doing things the wrong way and found a different plumber willing to work with us, so we should be all set to move forward with our plan. Then we started thinking more about the future. We’ve lived in the house for over three years now, and by all accounts we’ve made a ton of progress. That said, it’s taken a long time to get to this point and we have a long, long road ahead. It’s possible that if we did things the right way it wouldn’t take as long, plus it would make several parts of the work simpler. It would still take a long time, but maybe not as long.

Here’s the decision before us: we can continue our current plan and finish the first floor. When that’s done we gut and finish the second floor in two separate phases so we always have a full bathroom. This adds complexity to framing, plumbing, electrical, and HVAC. After that we have to dig out the basement, which involves moving out for a month or two while the water line and sewer are replaced. Then we can finish the outside, the porches, the garage, the attic, the basement, and the landscaping.

The other option is we don’t finish the first floor yet. Instead we demo the back porch and the garage, dig up the basement including the part where we stay in a hotel for a month or so to replace the sewer and water line, then move into the basement. We’d have a full bathroom down there as well as heat, so we could gut and re-frame the entire second floor at one time. Then, since both floors would be open, we could get the HVAC, plumbing, electrical, and spray foam done for the whole house rather than in pieces. After that’s done we could finish the first floor followed by the second, with the remaining projects proceeding as in the first option.

Time estimates are incredibly speculative, and there’s no real way of knowing how long it will take us, but looking at the tasks and how they need to be done tells us the second option could potentially save a lot of time, possibly a year or more. Demoing and framing the second floor all at once with the first floor still open would be much simpler. Running the ducting all at one time through open walls would be significantly easier and avoid potential problems. It would also eliminate the complications of attaching to existing plumbing while supporting new plumbing. All of these things being easier and simpler translates to cheaper and faster while likely giving us a better end product.

There’s a catch, of course. We’d have to live in the unfinished basement for an indeterminate amount of time likely measured in years. Instead of a finished first floor next year, we probably wouldn’t have it for two or three. While we were in the basement there would be no kitchen and no bedrooms. Most likely we’d set up some sort of partitions, but it would be smaller than our current space on the second floor and much less comfortable (radiant floor heat aside). It would mean not having a garage for the foreseeable future, not being able to entertain friends and family, not being able to cook, and not having a dishwasher.

Finally, it would mean spending a lot of money sooner than we thought. The advantage of getting all the plumbing, electrical, radiant heat, air conditioning, and spray foam done at once turns into the disadvantage of having to pay for all of them at once, and in rapid succession. We haven’t reached a decision yet. We’re mulling the two options, looking for other alternatives, and trying to decide what will work best for us.

Doing Things the Wrong Way

We’re doing our project backwards and wrong. We’ve known this from the outset, but plowed ahead anyway. Basically, the right way to gut-remodel a house is to demo everything, rip up the basement floor and put in the new below grade plumbing, get that inspected, pour the floor, do the framing, install rough plumbing and electrical, get both of those inspected, then go on to insulation and drywall, and finish work. This is not how we’re doing things.

For starters, we’re living in the house on the second floor while we remodel. Because the house is a two flat we have a fairly comfortable apartment, if a bit cozy. We have a kitchen, a full bathroom, and heat. Second, we’re trying to remodel the first floor before we redo the basement. That means all the plumbing below the basement floor hasn’t been done yet, but we want to install all the above ground rough plumbing not just for the first floor, but to service the current and future second floor as well. At the same time, we’re trying to go by the book with permits and inspections.

This morning I met with a plumber, and he wasn’t excited about our plan. He suggested we dig up the basement floor, do all the below grade plumbing (new cast iron sewer to replace the existing clay pipe, new copper  service line to replace the existing lead one), then to pour the floor we have to also do the interior weeping system, the under-slab insulation and the in-slab radiant tubing. Once all that’s done, then he could do the rough in for the first and second floor. You know: the right way. There’s a few problems with doing things the right way. For one thing, our basement is full of stuff. Sure we’ll have to move it eventually, but we’re hoping that would be after we had the floors above done, so we’d have places to put it. Next, the most practical way to dig down the basement involves us tearing down our existing garage so we can get a dumpster and cement truck into the back yard. We’re planning to replace the garage anyway, but doing that now is also less than ideal. Beyond that, it may even prompt the removal of the back porch, depending on how we do it. During this process we’d most likely have to move out of the house for weeks.

The biggest reason against doing the basement first is the money: redoing the basement floor is a very expensive project, and if we do it now it will mean other projects like the first floor will have to wait. When the basement is done, we’ll have an unfinished basement. It’s not a bad thing to have, but for the money we’d rather have a new living room, new kitchen, and new family room. We need to finish the basement eventually, but doing it now just for the sake of doing things the “right way” isn’t an attractive prospect. Unfortunately, there’s a good possibility that if we don’t do it the right way we won’t pass inspection, since none of the basement work would be done when we want to close up the walls in the first floor.

We’re going to talk to some other plumbers, contemplate some other options and possible compromises, and figure this out. One possibility may be doing the underground plumbing now but not the rest of the basement floor, though even that is a pricey way to go. There may be others we haven’t considered. Hopefully we’ll come to a solution in time to get spray foam in before winter, but if not, it won’t be the first time we’ve missed that goal.

First Floor Framing

It’s Fall now, and we really want to get spray foam insulation installed before winter hits. That means we need all the framing done, as well as rough plumbing and electrical. Fortunately on the first floor we have an open floor plan, so there isn’t all that much framing to do. In addition to a few walls we need to finish the fire blocking and add nailing edges to the corners.

Blocking added to wall

Blocking added to wall

A few months ago, Dean came over and we got most of the fire blocking installed. The fire blocking consists of short pieces of 2×4 fit between the exterior wall studs at the floor, halfway up the wall, and behind the ribbon at the ceiling. They help prevent fire from spreading up the wall cavities, improve structural rigidity, add drywall nailing edges, and they’re required by code. Since we changed our plans, the only framing we need to do is the bathroom walls, the half-wall that divides the kitchen from the living room, and a small triangle of wall along the second run of stairs.

Last week I got the two bathroom walls up. As usual there was random shimming and allowances for our out-of-square house, but I must be learning because everything went pretty smoothly (except when one of the wall sections I had stood up fell over, broke the light, and almost crushed my camera). The walls are nice and straight despite the house and I didn’t have to take it apart to cut mis-measured boards.

Sarah’s dad, Mike, was over on Saturday and together we built the kitchen walls. There’s a short section under the beam connected to a half-wall that divides the kitchen from the living room, with a walkway near the wall. That went fairly smoothly, though we did run into one section by the wall we had to redo to compensate for the non-trueness of the outside wall.

Fire blocking with plugs

Fire blocking with holes and plugs

Sunday Sarah and I spent pretty much the whole day finishing the fire blocking. At the front and back of the house the floor joists run parallel to the wall, so if we’d put solid blocking in it would have closed off a pocket in the wall that couldn’t be spray foamed from below. To get around that I drilled 2″ holes in each piece of blocking so the spray foam installer can fill the pocket, put the little wood plug into the hole, then fill the rest of the wall.

Angled framing

Angled framing

Tuesday evening we framed the triangle of wall by the stairs and installed nailing edges at the corners. Wednesday evening our friend Mike came by with his truck and picked up most of our scrap metal pile in the basement, cutting down the big stuff with his torch. We need to clear all that out so the spray foam installers can get between the joists in the basement. We still have to get the tub and old boiler out, as well as some wiring, but it’s a huge improvement.

Truck loaded with scrap (also Derek)

Mike’s truck loaded with scrap (also Derek)

Yesterday I took care of some furring by the front door to even out the wall. We’ve got calls out to our plumber and electrician to get them lined up and see how soon they can do the work. Local code requires we use licensed contractors for the work, and it will certainly take them a lot less time than it would us. That’s not to say we won’t have anything to do ourselves. We still need to add furring to the ceiling, even up some of the outside walls, install the security system wiring, speaker wiring, and cabling conduit, plus clean out the rest of the basement, not to mention finish up a bunch of odds and ends we haven’t gotten around to. The exciting thing is that once all that’s done and Lester does some prep for the radiant floor heating, not only can we get our spray foam insulation, we can start drywalling. It’s been so long coming that it’s exciting just to think about.

Floor Plan Revision

We’ve made a couple of changes to our first floor plan. The first change came about because of stair planning, which moved the landing further back to accommodate required headroom. It also meant the space behind it that was supposed to contain both a pantry cabinet and a coat closet was not big enough. Instead we’ve modified the plan to have a larger cabinet that we’re hoping can still hold the same stuff (in separate cupboards).

New cabinet adjacent to landing

New cabinet next to landing

The second change is a bit more significant. The original plan (as shown above) has a den at the top, the half bathroom in the middle, and an office with closet at the bottom. In the drawing they look decent-sized, but when I marked the future walls on the floor and Sarah and I walked around it, the rooms all seemed small. We decided that with an open plan we’d still have the same functional spaces (sitting area and desks for work) but each space would feel bigger by not being closed off.

Revised plan

Revised plan

The disadvantage to doing it this way is we lose the closet and the ability to close off the office. We’d considered using the office as a bedroom while we work on the second floor, but it wasn’t big enough for a queen bed and we didn’t want to leave either of the kids on the first floor by themselves. It also puts the window at the bottom very close to the corner, which is more an aesthetic issue, but we may compensate for that with shelving on the other side. If I get really ambitious, I may add a built-in desk and shelf, which would also help make up for the lost closet.

The powder room changes shape and moves but is roughly the same size and is still on the wet wall, so there’s no significant difference in plumbing. We may also need to figure out a new plan for how our radiant lines will be run, because we’d planned to put a panel at the back of the closet to reach the manifold.

Overall we like this plan better. It’s not a very big space that we need a lot from, and making it more open and pushing the bathroom to the corner makes it more functional. I started putting up the walls so we can get rolling on plumbing and electrical, but I’ll get into that in a separate post.

Sliding Door Installation

Back wall (before cleanup)

Back wall (before cleanup)

Now that the back porch stairs are out of the way, the next step toward getting spray foam installed is installing the back sliding door. My initial plan was to install the new sliding door first and then remove the existing back door, but the two wound up happening concurrently, since there wasn’t anything left to hold the sheathing on. We started by taking off the siding on the outside (fortunately only one layer here). I started and Sarah finished it up.

Sarah removing siding

Sarah removing siding

Once the siding was down I cut back the sheathing, which is when we realized we needed to take out the back door. Sarah did that while I ran to the store and picked up some supplies. We are fresh out of reclaimed 2x4s that are over 10′ tall, which is what we needed to re-frame the wall. That meant I needed to get 12′ 2x6s and cut them down on the table saw to the right thickness (~ 3⅞”).

With the back door gone and all of the sheathing removed, I framed in studs where the old door had been, sistering two studs next to each other to support the cripples above the door. Once that was in place I cut out the studs on the other side to make room for the new door.

The first step in framing the opening was to build a sill, since the balloon-framed house has a sill several inches below the floor. I sandwiched a piece of 1″ thick poly-iso foam between two cut-down 2x6s. That later proved problematic, since the screws that go into the bottom of the door lined up with the foam, so they don’t have any holding power. Ideally I would have put in wood blocks that lined up with the screws, but I don’t think it’s going anywhere. Next I added jack studs, king studs and a header, also sandwiched with foam. Finally I installed sheathing, using reclaimed boards from the house instead of plywood or OSB. It might be cheaper, but after all the screws I used, I’m not so sure.

So far this is all fairly standard. At this point the job gets a bit more complex, as we’re planning 2″ of rigid foam on the outside of the house. To account for this, all the doors and windows sit 2″ further out than normal so they sit flush with the outside, which makes for a simpler flashing detail.

Dean came over to help with the installation, starting with adding the 2×4 furring that surrounds the door. At the bottom we have the existing porch sill, so we cut back the porch flooring and built up the sill to the level of the door. Hopefully when we replace the porch that won’t cause issues. If not, we’ll deal with that when the time comes. Once the furring was on we carefully wrapped it with house wrap. When we eventually re-side the house, the wrap around all the windows and doors will get taped to drain wrap on the rest of the house. For now we left the rest of the sheathing exposed, since it’s inside the back porch.

Adding exterior foam and flashing tape

Adding exterior foam and flashing tape

The next step was to put ½” foam over the 2×4 furring. The 1½” thick furring plus the ½” foam will sit flush with the 2″ of rigid foam. I then used the same flashing detail I’ve done on the other windows and doors, putting 4″ Weathermate tape down the side corners and a plastic sill pan at the bottom. I added a piece of sill gasket under the drain pan to further seal the bottom of the door before we add caulk.

Sliding door installation

Sliding door installation

The last step was to tip in the door and screw it into place. We wound up cutting custom wood block shims on the top and side to secure it properly, but everything was level and plumb for a change so it went fairly smoothly. I still need to add more Weathermate tape to the outside at the top and sides to complete the waterproofing, as well as Great Stuff and backer rod on the sides and top, but since this is in the porch there’s no particular rush.

Derek tries out the new door

Derek tries out the new door

The door looks great, and even though it only opens onto the enclosed back porch for now, we can tell it will bring in lot of light once the porch is gone. The relocated light switch is now pretty inconvenient, but I’m sure we can deal with that for the time being. Now we can finish up the fire blocking and get to spray foaming!