I had a couple of projects to work on while we waited for the stringers to be delivered. Among them was the back kitchen wall. The back left of the kitchen has a doorway to the den, flanked on one side by the refrigerator and on the other by the coat closet and pantry. We had planned for a full framed coat closet with pantry cabinet next to it, however the redesign of the stairs made that space a bit smaller, so instead we’ll do a row of full height cabinets that we can use for both pantry and coats.

Level blocking, un-level ceiling joists
This wall is in-line with the support column, and as a result it’s between two floor joists, so the first step was to install blocking in the floor and ceiling joists. In the basement this went fairly smoothly, though I had to move two of them because they were under the doorway, which was rather useless. Fortunately I used screws, so it wasn’t too difficult to correct. The ceiling was a bit more complex because the ceiling isn’t straight, so I installed the blocking level, each one protruding below the floor joists a bit more toward the outside wall. When we drywall the ceiling we will be furring it level, so this shouldn’t be a problem. I screwed down the sill plate and top plate (both of which we double up).

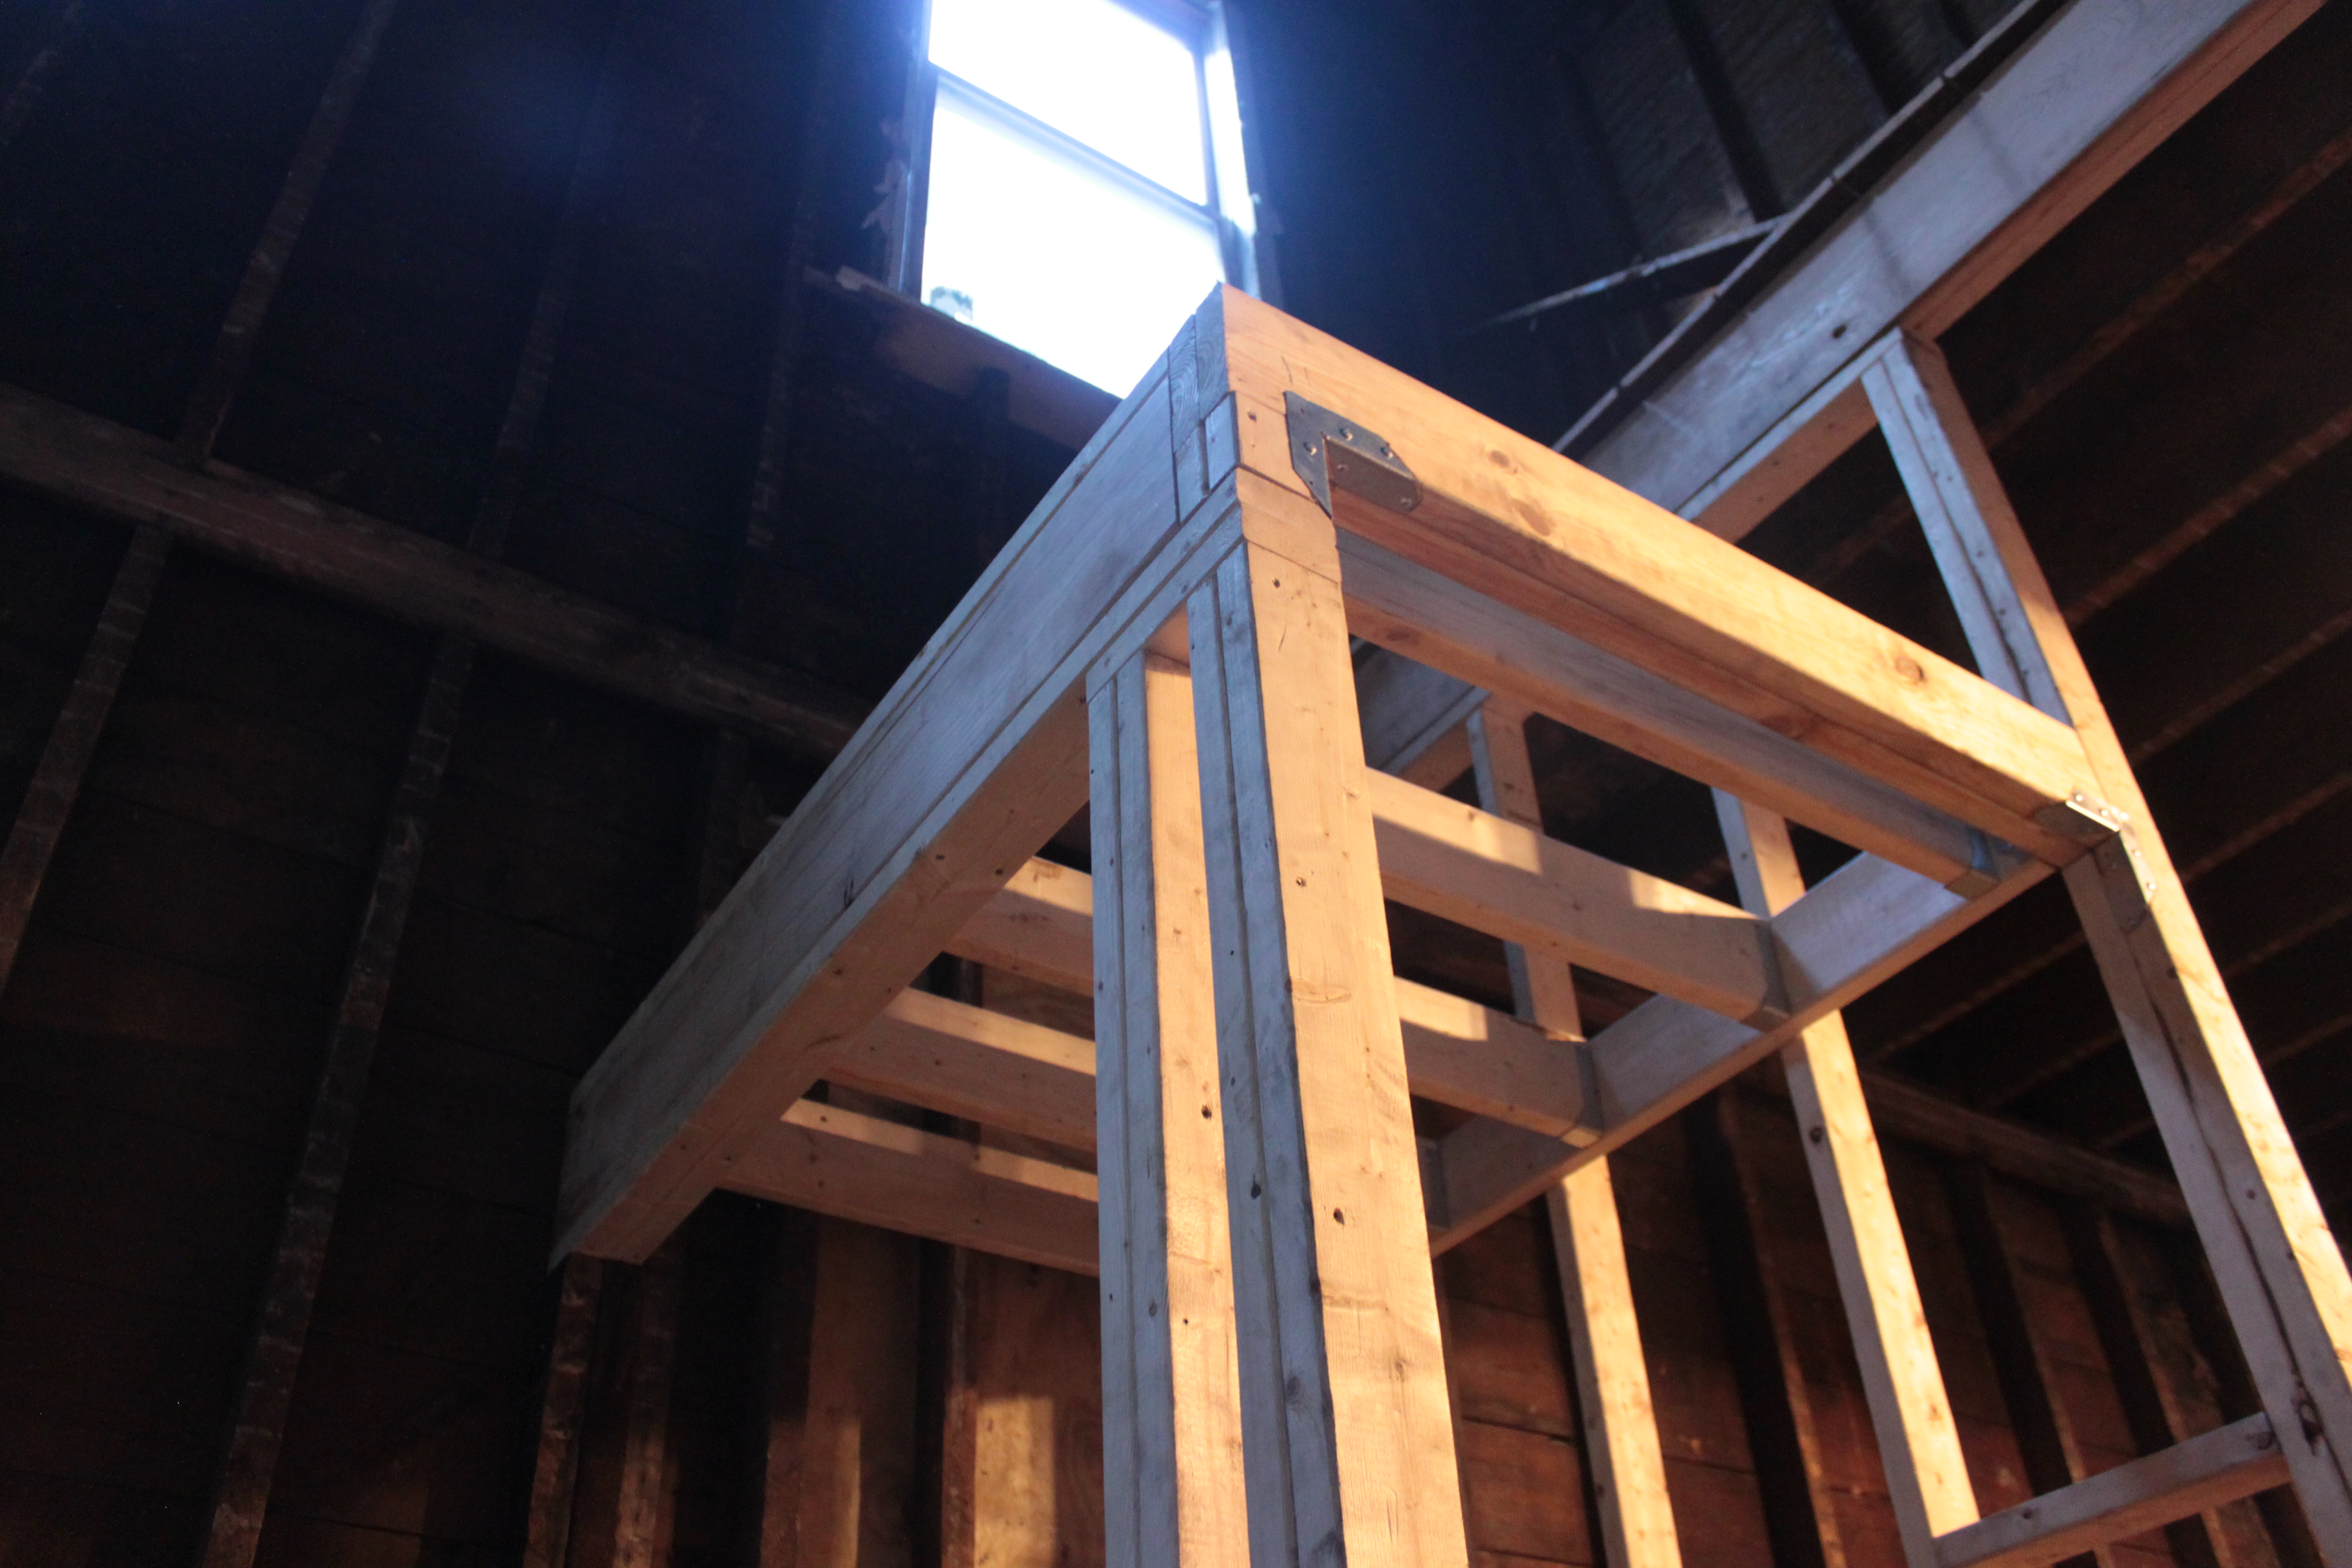
Framed and ready to fit
I noticed that the outside wall wasn’t plumb to the tune of about ¾”, so I allowed for this by adding some extra depth so the cabinets would still fit flush. Unfortunately I also added this extra depth at the top, so when I framed the wall and put it into place, the studs weren’t plumb. Since we’ll have a refrigerator on one side and cabinet on the other, both sides need to be plumb. Since I’d put the header above the doorway in with all the nails, the easiest way to correct this was to shim the studs on either side.


The shims look pretty silly and of course they all split, but they do keep it secure and the bubble on the level is between the lines everywhere that counts. This wall isn’t load bearing or anything, so not having the jack stud fully sistered on one side won’t cause any issues. I think (hope?) by the time I finish this project I’ll actually know how to do it right the first time. Did I mention I messed up my stud measurements and built the wall 3″ too tall? I had to cut them all back and put the sill plate back on. Sigh.

Finished wall
I remembered to put the 2×6 nailing edge on the back of the wall stud. Having neglected that in some other cases and needing to fit pieces in after the fact, I’m getting better at that at least. There’s only one other small wall in the kitchen to frame. The other framing of the office and bathroom needs to wait until we put in the back sliding door. The stringers arrived yesterday, so the next project is to cut and fit them!