Tag: PEX

Basement Interior Wall Framing

Since we’re not framing the exterior walls of the basement yet, we went straight to the interior walls, specifically the permanent walls for the bathroom and mechanical room. After Mario put in the mesh for the concrete, I went around and carefully measured locations for the walls and placed J-bolts to secure the sill plates, so that once the slab was poured we wouldn’t have to drill into it. The main reason for this was the radiant tubing in the slab: if you drill into the concrete and hit a tube, that loop is basically useless, and our floor only has three loops. Unfortunately, Mario informed me the day of the pour that because of the way they were screeding and finishing the floor, the J-bolts sticking up all over would get knocked over and interfere, so he pulled almost all of them out.

First wall section

First wall section

I framed the wall in sections, pressure-treated sill plate and standard 2x4s, sill gasket under the pressure treated sill to prevent moisture wicking, coated screws for anything touching the pressure-treated lumber and regular screws and 8D nails for the rest. The uneven floor joists above required some shimming and I had to add blocking to a couple of sections where the wall was parallel to joists. I watched all my inside corners for drywall nailing edges and followed the tub instructions for framing around it. For the curb at the outside walls I built L-shaped pieces and attached them after the fact rather than try to build it with the section. I came back and installed an additional exterior half-wall for the utility sink and washing machine hookup, though in retrospect I might as well have just framed a full wall. I may reconfigure that, but I need to pick up some additional lumber since my original estimates proved low.

Bathroom framing

Bathroom framing

While the wall framing was pretty straightforward, we did run into some snags. For starters, the plumbers had put the toilet too close to the tub, something I could have had them fix if I’d noticed it before the floor was poured, say, back in October when they installed it. Because the toilet can’t move, I shifted the tub a few inches away, so the tub will have to use an offset drain and one of the few remaining J-bolts no longer aligned with the wall. They also managed to place a vent completely outside of the wall it was supposed to go through, but at least it’s inside the mechanical room where it won’t cause too much of an issue. I had to frame the wet wall of the bathroom with 2x6s because the plumbing alignment with the steel column wasn’t quite right, and I had to make some provisions for the steel beam that runs through the bathroom. In general, framing around all of the pipes sticking out of the floor was challenging.

Bathroom framing done

Bathroom framing done

With all the walls up and framed and a few J-bolts secured, I spent a lot of time poring over the photos I took of the floor after Lester installed the PEX tubing, determining where exactly I could drill the floor and secure the walls with Tapcon screws without hitting anything. After several nerve-wracking drills, including one gush of concrete dust that I was certain was air escaping from the pressurized tube, I had all the walls secure and the pressure gauge on the PEX lines holding near 70psi assured me I hadn’t hit any. Whew.

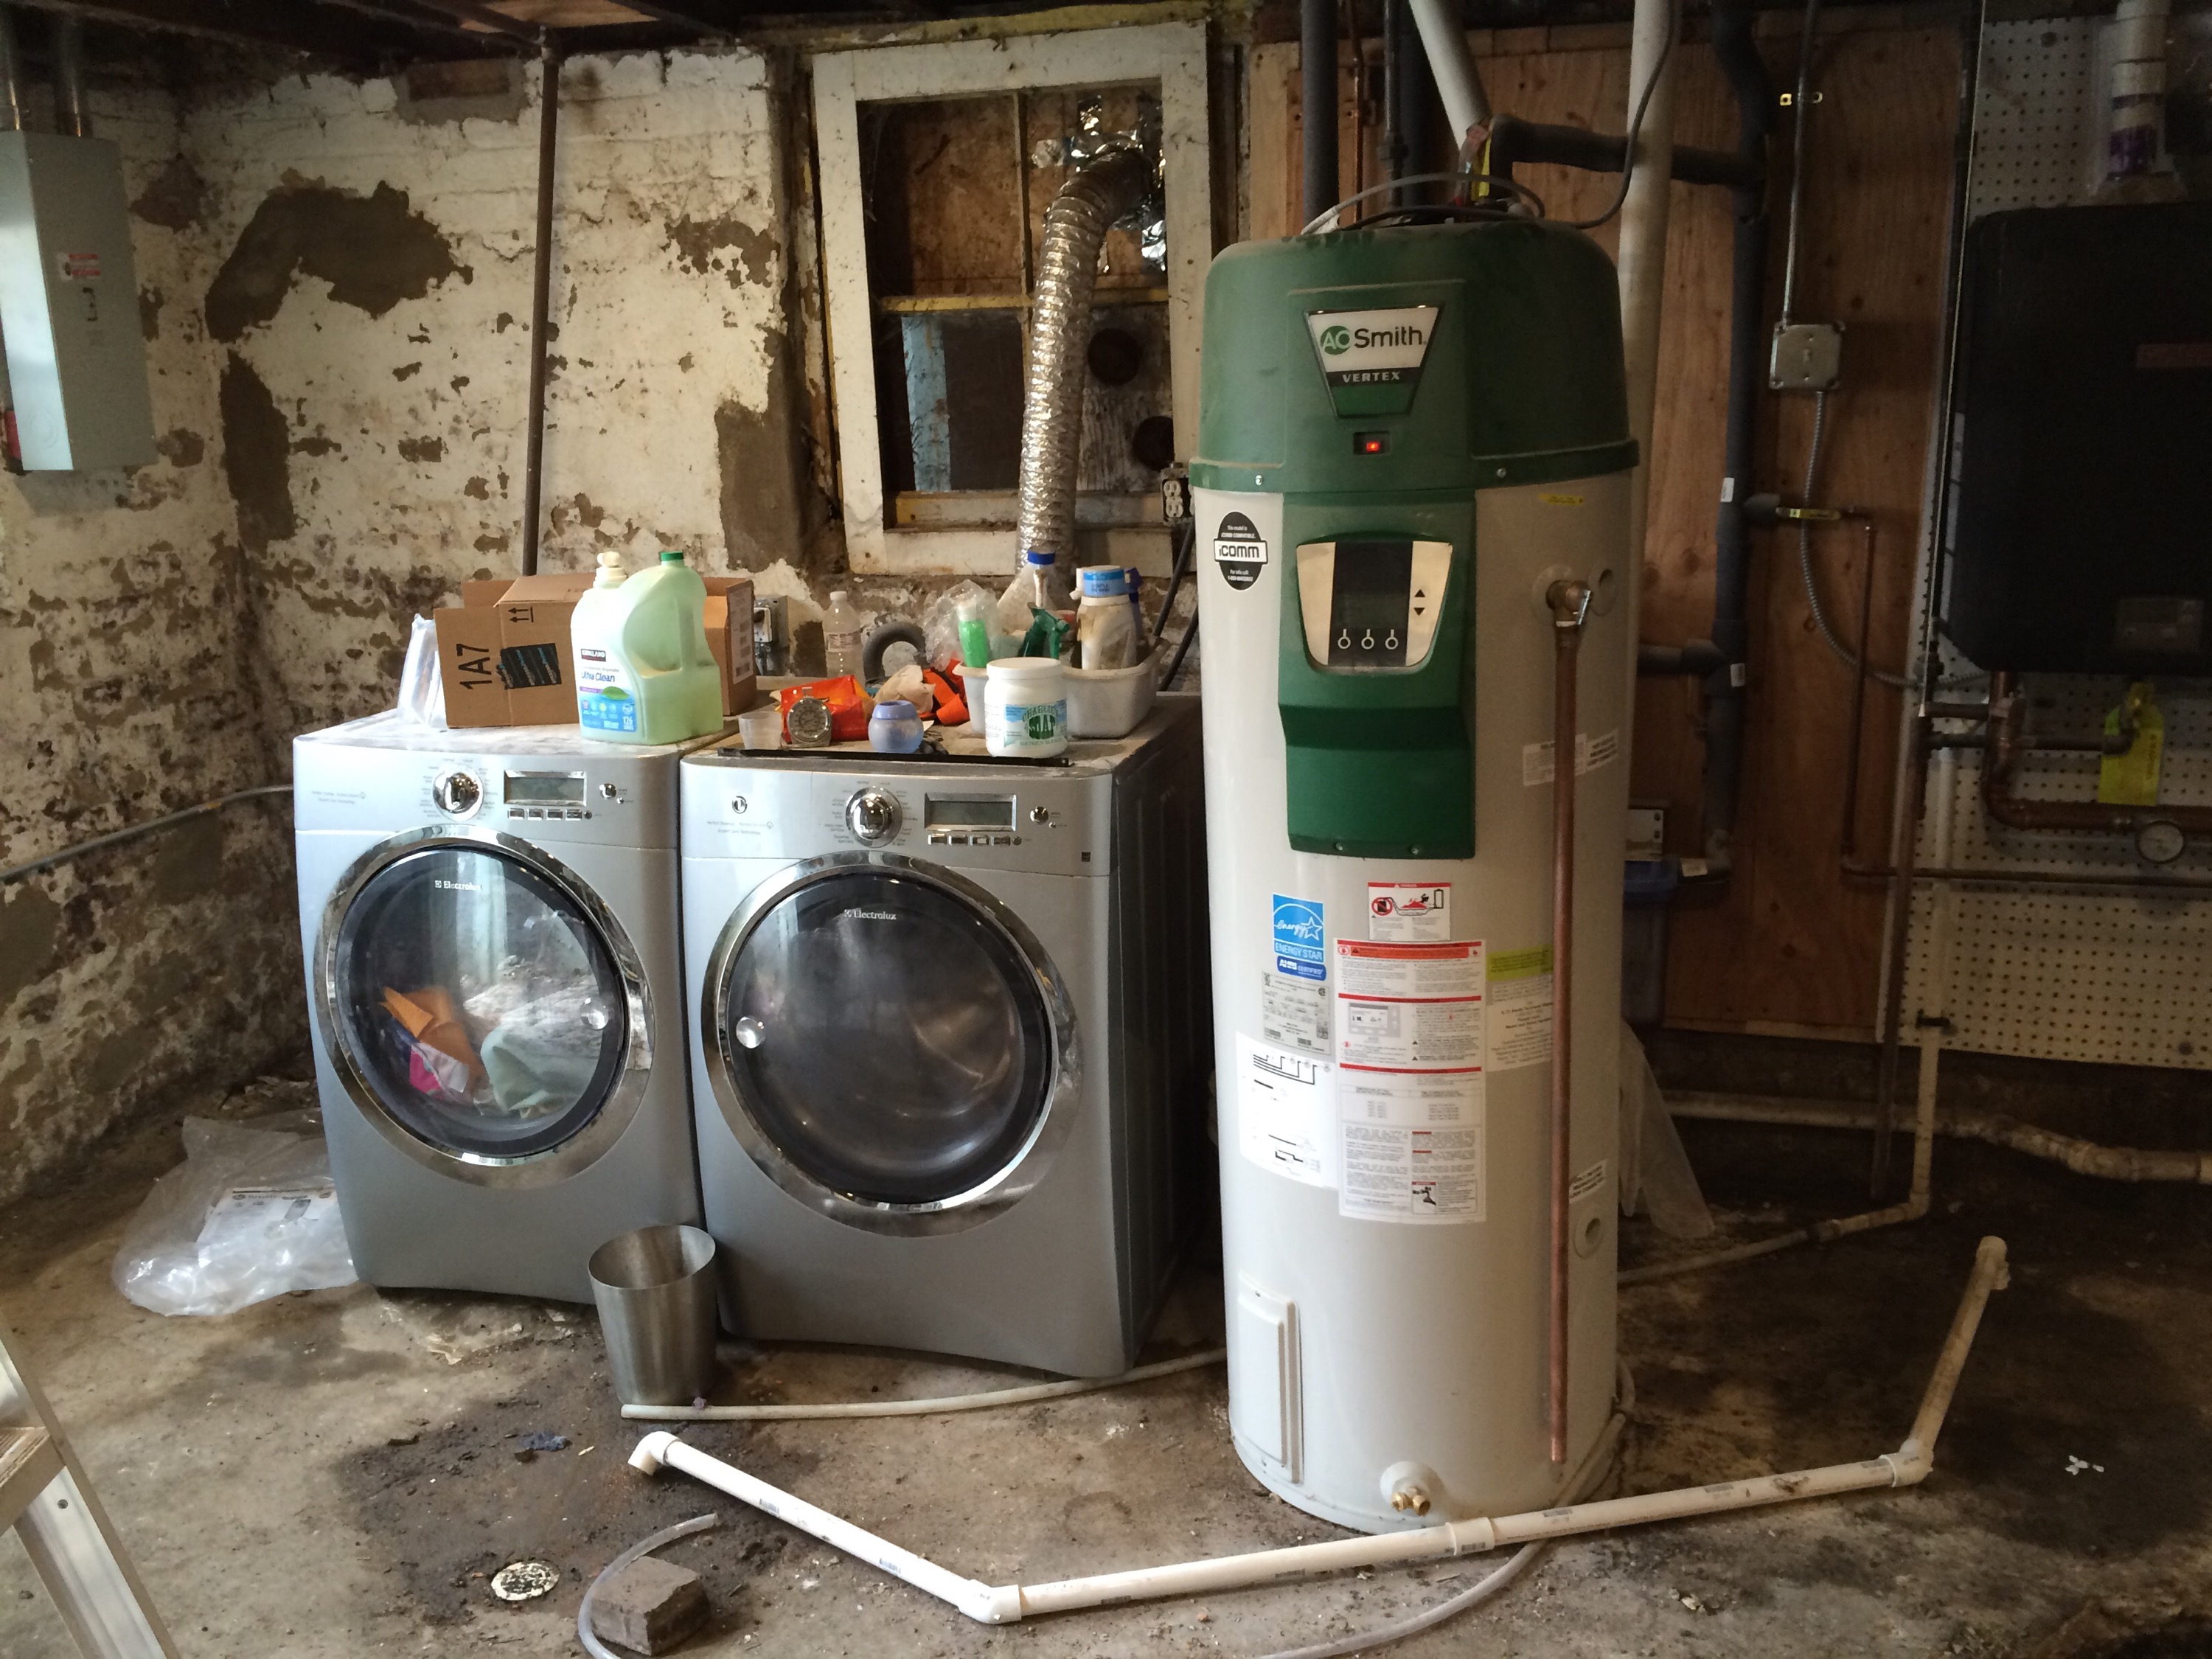
Now the plumbers and electrician are working on their respective pieces. Once they’re done and we’ve passed inspection we’ll get to insulation, drywall and putting up the temporary walls. I’ve got a list of smaller items as well, like hooking back up the water filter, moving the water heater, running venting for the bathroom exhaust fan, and ordering the other fixtures: vanity, toilet, faucets, and utility sink.

Basement Floor Pour

We have a basement floor! Mario and his crew came out early yesterday morning and by 8:30 the concrete truck had arrived. In no time they’d poured the entire pad and screeded (leveled it out).At that point the rest of Mario’s crew left, but he stayed for the rest of the day carefully hand troweling the surface to a burnished finish. The pressure gauge on the radiant PEX tubing never wavered, so we’re confident that nothing was damaged during the pour.

Initial screed

Initial screed

There was one minor issue, in that Mario didn’t want to leave the J bolts I’d carefully positioned during the pour because he couldn’t smooth the finish with them in the way. I explained that I didn’t want to drill or nail into the finished concrete for fear of hitting the PEX tubing. Ultimately we left some of the J bolts in position and pulled some of the others. I took a bunch of measurements and photos to help me position new anchor bolts in the finished slab, but I’m not thrilled about the nerve-wracking possibility of hitting a tube and losing a whole loop of the radiant heat.

Finished floor

Finished floor

This weekend I plan to install the last of the basement windows and the back door. I’ve installed the window buck this past weekend to ensure I wasn’t going to be making any more dust. The next project is to stain and seal the concrete once it’s cured. I’ve been doing research on the specific products and techniques we’ll be using for that. I think with the finish that Mario put on the floor, it’s going to look really nice with the stain and seal.

Troweled finish

Troweled finish

This feels like a really important milestone. We started breaking up the concrete of the old floor over a year ago and never imagined it would take so long to get one back. We’ve gained close to a foot of headroom in the basement, a critical difference that makes it a much more usable space. In addition we’ve got the rough drainage in place for our basement bathroom and utility sink, our new water main and sewer, and an interior weeping system that at this point really needs to be hooked up, since the sump basin has almost completely filled with water! With the new windows, the new back steps, the painted ceiling and beam, the tuckpointed brick walls and the all new electrical outlets and lights, it’s a night and day difference from where it was. While I really expected to be at this point in October, I’m happy that we’re finally here now and looking forward to the steps ahead.

Basement Floor Prep – Plastic, Mesh, and PEX

As planned, Mario (our concrete mason) came out on Monday of last week and put in the plastic vapor barrier and the wire mesh on top of the foam insulation. Over the weekend I installed “J” bolts (they’re shaped like J’s) where our interior walls will go, so we don’t have to drill or nail the new concrete slab. I cut short pieces of steel rod and stuck them into the foam and then wire-tied the J bolts to them to keep them positioned and upright.

Basement PEX tubing

Basement PEX tubing

Today Lester, our radiant heating contractor, came out and installed the PEX tubing that will eventually allow hot water from the boiler to keep our concrete slab nice and warm and heat the whole basement. Once the tubing loops were run and zip tied to the mesh, he pumped compressed air in to 70 psi as a pressure test to ensure the loops are air (and water) tight. They’ll stay pressurized during the concrete pour and cure to make sure they don’t get squeezed anywhere. He gave me a list of warnings to pass on to Mario and his guys when they’re pouring the concrete: when they’re using a concrete spreader, don’t hit the tubing! When they tip up a wheel barrow, don’t hit the tubing! When they’re running wheel barrows back and forth, lay down some half-inch plywood so they don’t hit the tubing! I sensed a trend.

Also basement PEX tubing

Also basement PEX tubing

Mario is planning to pour the floor on Thursday, and I’ll be there making sure that Lester’s instructions are followed. If anything happens to the tubing during the pour and it leaks, our whole radiant-heating plans will crumble. The only choice would be to tear up the whole brand new concrete slab and start over, or switch to hot water forced air in the basement, and with the lack of head room I don’t want to run ducting!

Plumbing Move

There are a few drawbacks to living in a house while you remodel it. It takes longer, it’s more complicated, and you often have to spend time on temporary solutions to keep things operational. In this case, the water heater and laundry in the basement needed to be moved up to the first floor so the basement dig out can continue.

Basement water heater and laundry

Basement water heater and laundry

We installed the water heater back in August of 2013. At the time we were getting everything disconnected from the chimney so we could redo the subfloor on the first floor. When we decided to do things the right way and do the basement first, we had to reshuffle things. We considered disconnecting everything and moving out for a few months, but instead we just moved the water heater to the first floor temporarily and rerouted the plumbing. I even managed to hook up the laundry, so we don’t have to go to the laundromat for the next several months.

Relocated to first floor

Relocated to first floor

Getting gas, electric, water, and venting run was a task, but I simplified it by using PEX tubing and quick connect fittings for the plumbing. PEX isn’t code in Chicago, but this isn’t permanent so I’m not too worried about it. Once the new basement floor is done we can move it all back into the basement. I took off a few days from work this week and got everything set up on the first floor for about $150 in materials. The whole house water filter had to get disconnected, but because of how we plumbed it we were able to just bypass it with a few valve turns.

The next step was to fix the drainage. The long-gone basement bathroom had been badly spliced in where the cast iron stack connected to the vitrified clay sewer line. I repaired that connection with a section of PVC and a rubber gasket. I had to cut out the cast iron and the broken clay. I did both with a diamond grit reciprocating saw bit. Don’t waste your time on the carbide bit. That thing is crap, just spend the extra few dollars. Once that connection was made, I redirected the drain from the kitchen (and laundry) into the main sewer instead of the collapsed line that goes to the catch basin and backs up all the time. When we replace the underground sewer line this will get changed again, but for the time being we don’t have water all over the floor and noxious sewer gas leaking in the basement, which is nice.

Everything removed

Everything relocated

Finally, with everything moved and rerouted, I took up the last section of concrete floor.

Concrete removed

Concrete removed

Now we can finish the dig out! We have nine days left with the mini-excavator before our month is up and we have to return it, so we’ve got to press on and get this thing done! It’s looking like one more dumpster after this one should finish things up, or roughly 2 concrete dumpsters and 4 dirt dumpsters total (plus the 2 debris dumpsters from the garage and back porch demo). It’s been a busy Spring.